After successfully retrofitting a smart fan controller onto an older ceiling fan, it was time to install and upgrade more ceiling fans around the house. In this post I am describing how I integrated a Brilliant Bahama smart ceiling fan into Home Assistant, and in the next post I am going to show how I integrated a ceiling fan using Sonoff’s RF controller.
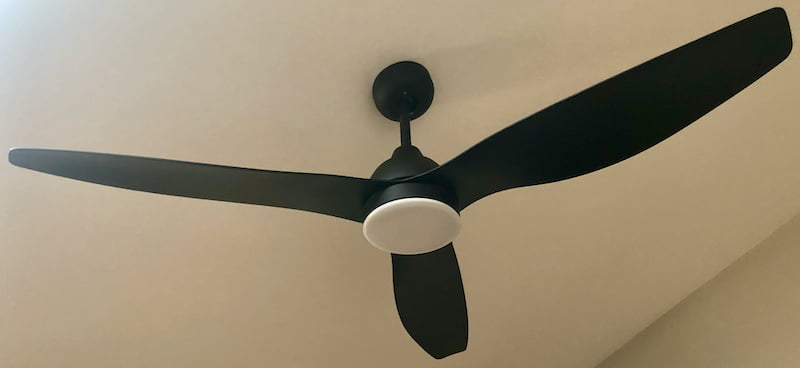
The ceiling fan comes with a smart WiFi fan controller placed in the ceiling mount bracket. It’s a DC fan which promises lower power consumption, and it comes with a non-dimmable LED light. Normally you would control the fan with the BrilliantSmart app, but I skipped that step altogether
I was reasonably confident that this fan controller is a Tuya device with an MCU that controls the fan. Since I had success controlling a different Brilliant ceiling fan controller with Tasmota I decided to give that a try.
First attempt – Tasmota
After powering on the fan controller I used a current version of Tuya-Convert to flash Tasmota 8.3.1 over-the-air and this worked without any problems. After the general configuration – WiFi, hostname, MQTT, etc. – I configured the device as module Tuya MCU (54) with GPIO1 as Tuya Tx and GPIO3 as Tuya Rx.
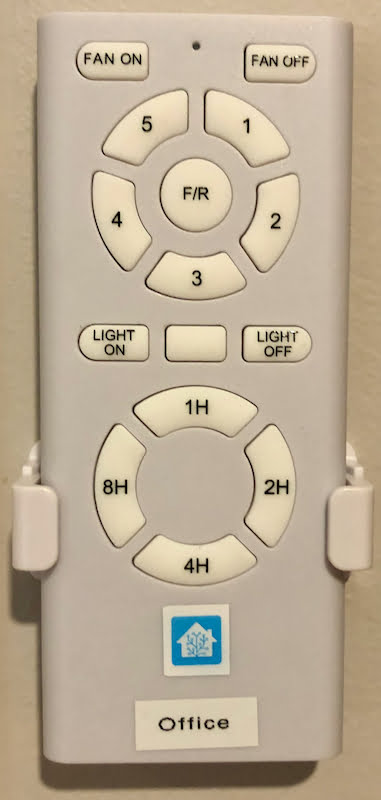
Determining the correct dpId values is not too hard when using the fan’s remote control and watching the Tasmota console. At each button press you will see a couple of lines in the console, some contain a “TuyaReceived” JSON record with all the details and some are a bit more explanatory based on the current Tasmota configuration.
Here is what I have found:
- dpId 1: Fan power (on/off)
- dpId 3: Fan speed (1/2/3/4/5)
- Speed 1:
55AA03070005030400010016 - Speed 2:
55AA03070005030400010117 - Speed 3:
55AA03070005030400010218 - Speed 4:
55AA03070005030400010319 - Speed 5:
55AA0307000503040001041A
- Speed 1:
- dpId 4: Fan direction (normal/reverse)
- dpId 6: Fan timer (1H/2H/4H/8H)
- dpId 9: Light switch (on/off)
I then assigned functions to fan power and light switch with the following commands and turned on auto-discovery:
# Configure Power1 (fnId=11) as Fan power (dpId=1)
TuyaMCU 11,1
# Configure Power2 (fnId=12) as Light (dpId=9)
TuyaMCU 12,9
# Set HA auto discover.
SetOption19 1
The device itself was discovered successfully in Home Assistant but unfortunately fan power and light weren’t. This is where I started a long journey through the Tasmota documentation, especially around the most recent changes in Home Assistant auto-discovery, but without much luck. I couldn’t make Tasmota treat the light (Power 2) as a light; apparently there is an option to make all relays of a device lights, but I could not find an option to configure one relay as a switch and another relay as a light.
Second attempt – ESPHome
At the time of writing this blog post, ESPHome does not yet support a Tuya fan in a stable version 1.14.x. Luckily the development version does have support for a Tuya fan built in, so I decided to give that a try.
Setup
I am running ESPHome from the command line. To be able to have the current stable version and the development version available at the same time I created a new venv and then followed the guide to install the development version: pip install https://github.com/esphome/esphome/archive/dev.zip.
Initial Configuration
The key components of the device configuration to make the Tuya MCU integration work are:
esphome:
  name: Fan
  platform: ESP8266
  board: esp8285

logger:
  baud_rate: 0

uart:
  rx_pin: GPIO03
  tx_pin: GPIO01
  baud_rate: 9600tuya:
At the startup of the device I received the following findings in the log:
[C][tuya:023]: Tuya:
[C][tuya:032]:   Datapoint 9: switch (value: OFF)
[C][tuya:036]:   Datapoint 3: enum (value: 0)
[C][tuya:036]:   Datapoint 4: enum (value: 1)
[C][tuya:036]:   Datapoint 6: enum (value: 0)
[C][tuya:032]:   Datapoint 1: switch (value: OFF)
[C][tuya:036]:   Datapoint 2: enum (value: 1)
[C][tuya:046]:   Product: '{"p":"9rwue3dqsw0e9r3v","v":"1.0.0","m":1}'
That output looks very promising and is in line with what I had previously discovered from my Tasmota detour. I cannot explain the purpose of datapoint 2 at the moment, but I have also seen that in the Tasmota console with a static value every single time another command was logged.
Final Configuration
I added the following configuration bits to make fan and light appear in Home Assistant:
fan:
- platform: tuya
name: "Fan"
switch_datapoint: 1
speed_datapoint: 3
light:
- platform: tuya
name: "Light"
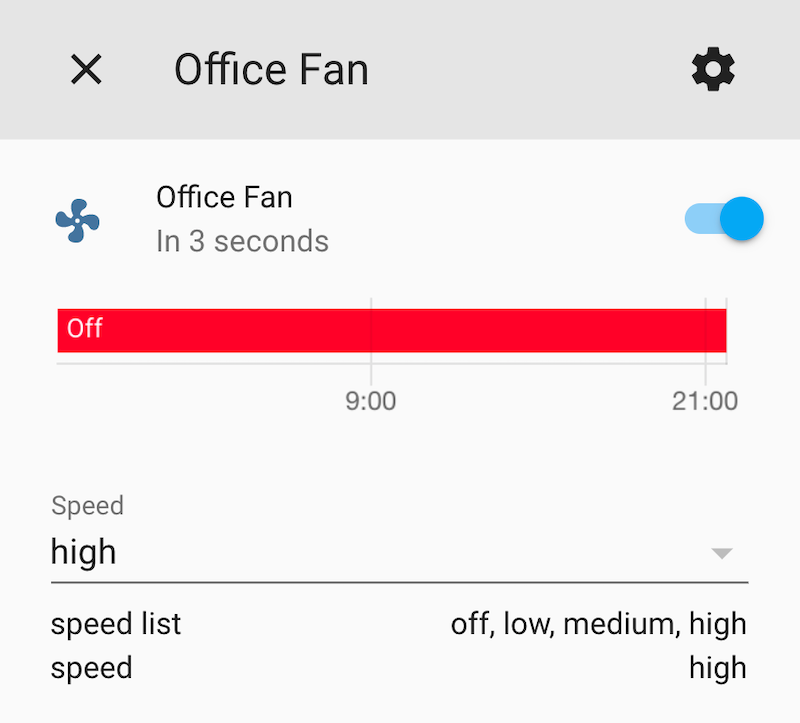
switch_datapoint: 9The resulting device in Home Assistant now has two new entities as expected – a fan and a light. The 3 fan speeds are low, medium and high and these are not configurable nor can they be mapped to the 5 speeds that the fan actually supports.
Some Observations
- The ceiling fan actually supports 5 different speeds, but the ESPHome integration only supports 3 speeds at the moment which means that I can’t remotely access the two highest speed settings. That is fine for now, but in summer I may miss those higher speeds.
- The fan direction can be changed remotely, but the ESPHome integration currently does not support that functionality. But since there is a datapoint (dpId 4) available to control the direction, and other fan integrations in Home Assistant do support the fan direction, it is probably possible to add this to the ESPHome integration in the future.
- The fan does support timers that let the fan run for a specific period of time, but of course Home Assistant supports much more fine-granular control through automations.
- The LED lamp actually supports different colour temperatures – warm white, cool white, daylight. You can flick through the settings by quickly turning the light off and on until you find the preferred colour temperature. As far as I can tell there is no way to set the colour temperature through a datapoint, so that’s probably not going to become remotely controllable.
Outlook
The ESPHome integration for Tuya fans looks quite promising and I am looking forward to a new stable release containing it. Compared to Tasmota, this ESPHome integration saves a lot of effort in finding the right configuration, both on the device itself and in Home Assistant. I will stick with the ESPHome development firmware for now and see how the fan behaves in the long term.
Compatibility
At the time of writing this post, I used:
- Home Assistant 0.110.4 with Python 3.7.5
- ESPHome 1.5.0-dev
- Tuya-Convert 2.2.0 on Raspbian 10 (Buster)
Leave a Reply to Marcin Cancel reply