
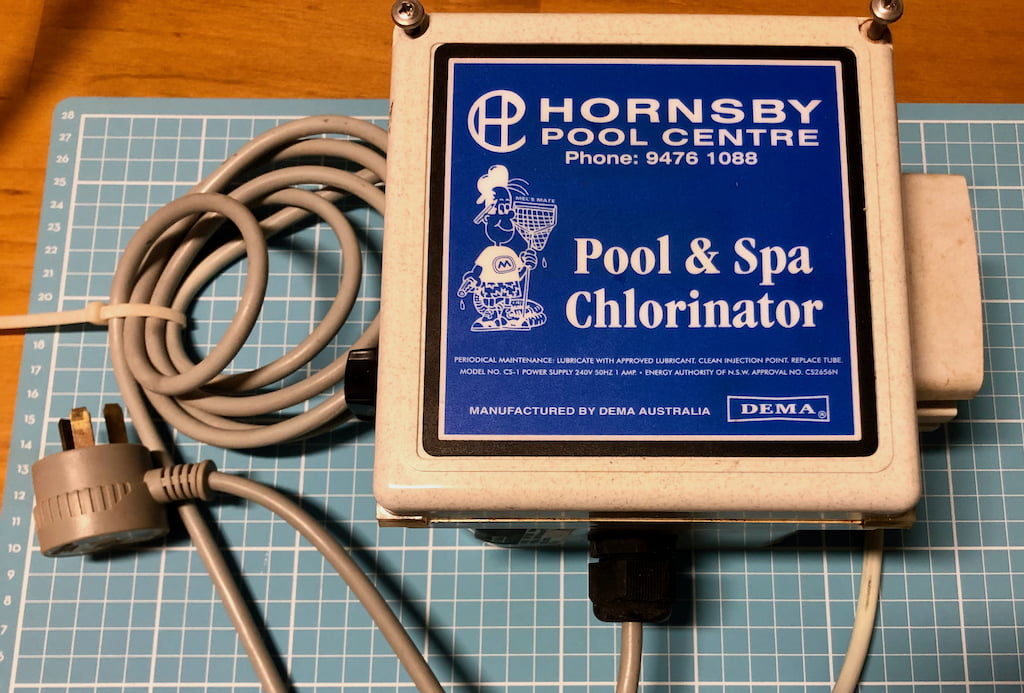
My old pool chlorinator motor broke and instead of forking out another $600 on an overpriced pool accessory I decided to fix it using a new reduction gear motor, connect it to an ESP and control dosing liquid chlorine via Home Assistant.
I do not exactly know how old my pool chlorinator is and while it definitely looks old you can still purchase essentially the same thing today as Siesta Semi Automatic Feeder.
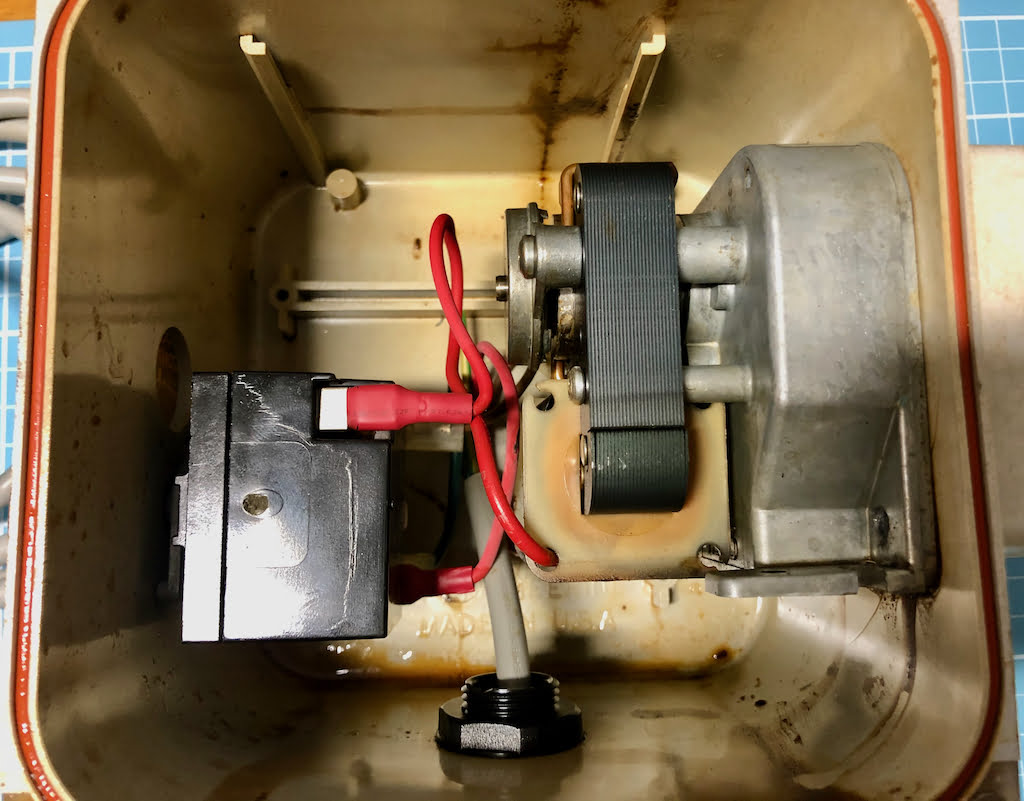
Motor and pump enclosure re-assembly
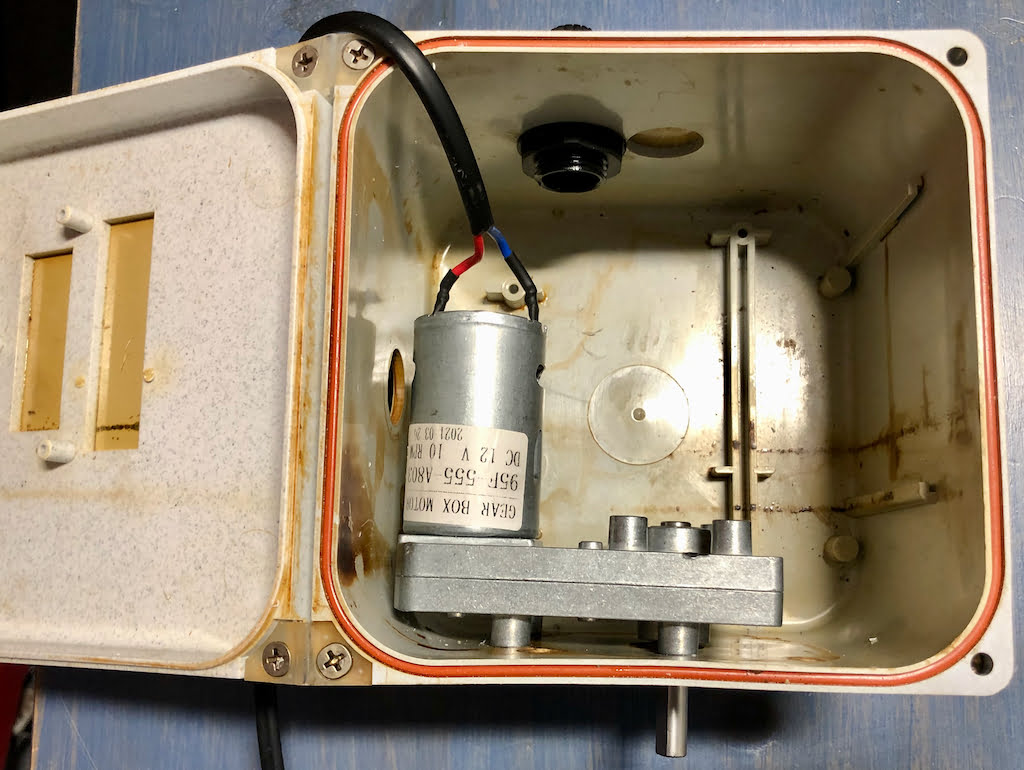
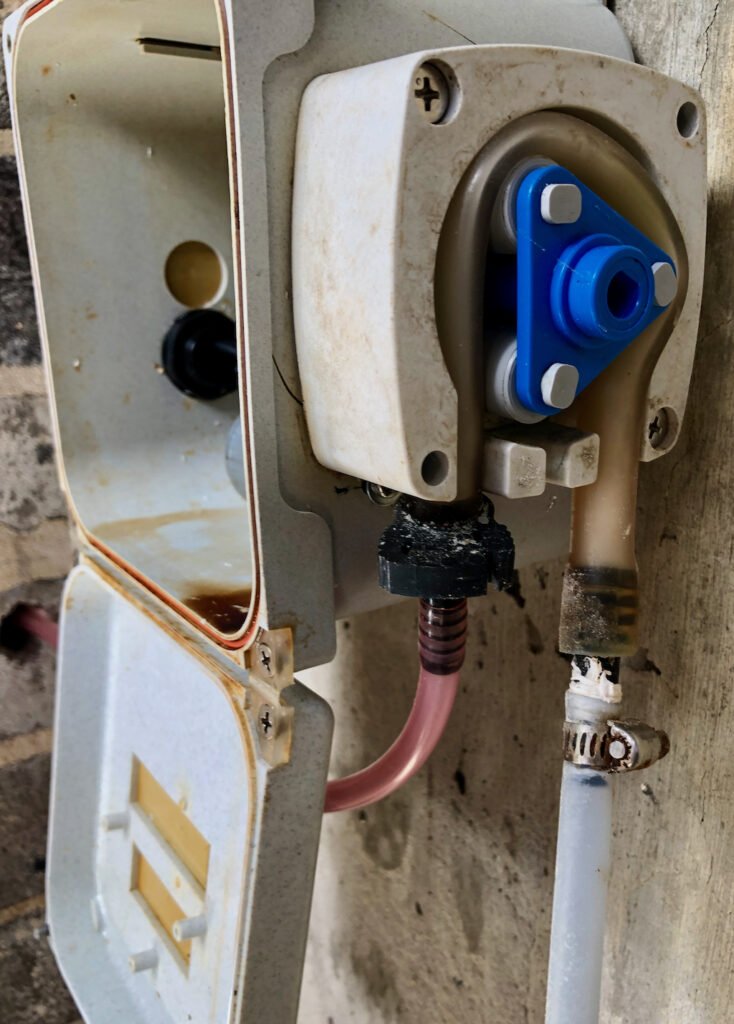
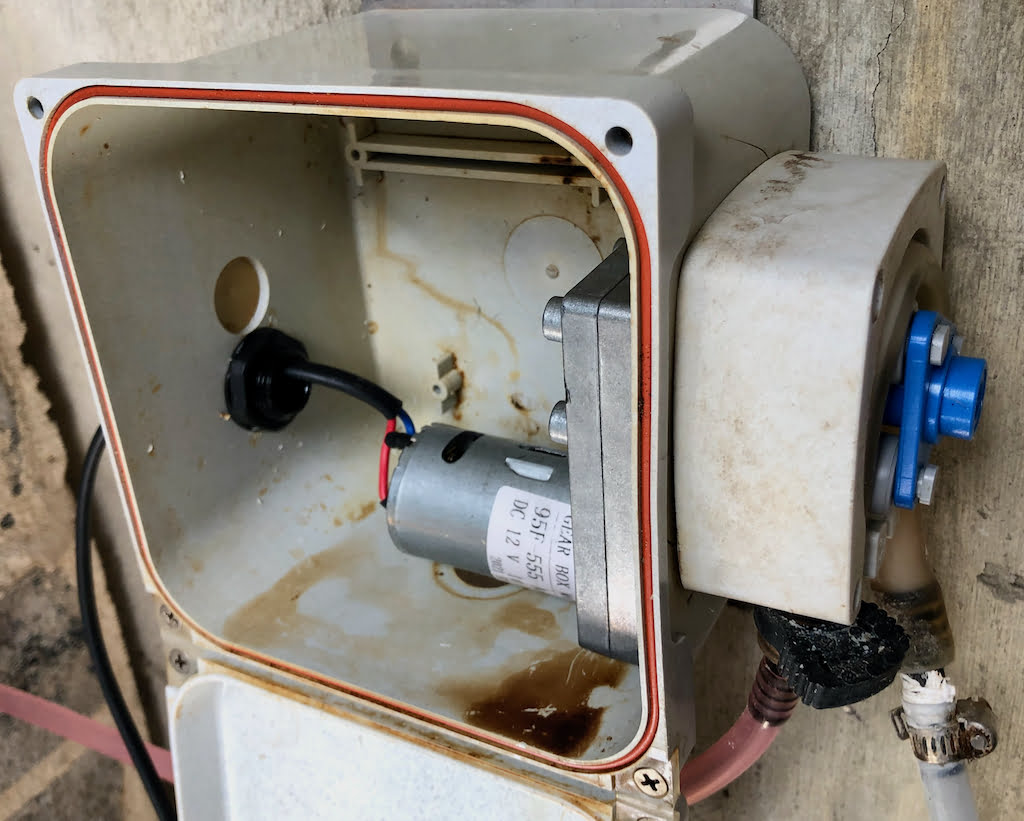
After opening up the enclosure we can see a fairly simple setup inside. The old motor is on the right hand side and this is connected to the peristaltic pump on the outside. On the left you can see the speed selector with a little dial on the outside of the enclosure. These are all 240V parts and I was not going to attempt to fix the motor or replace it – a spare motor would cost around $350 – but instead rebuild the whole chlorinator from the grounds up.
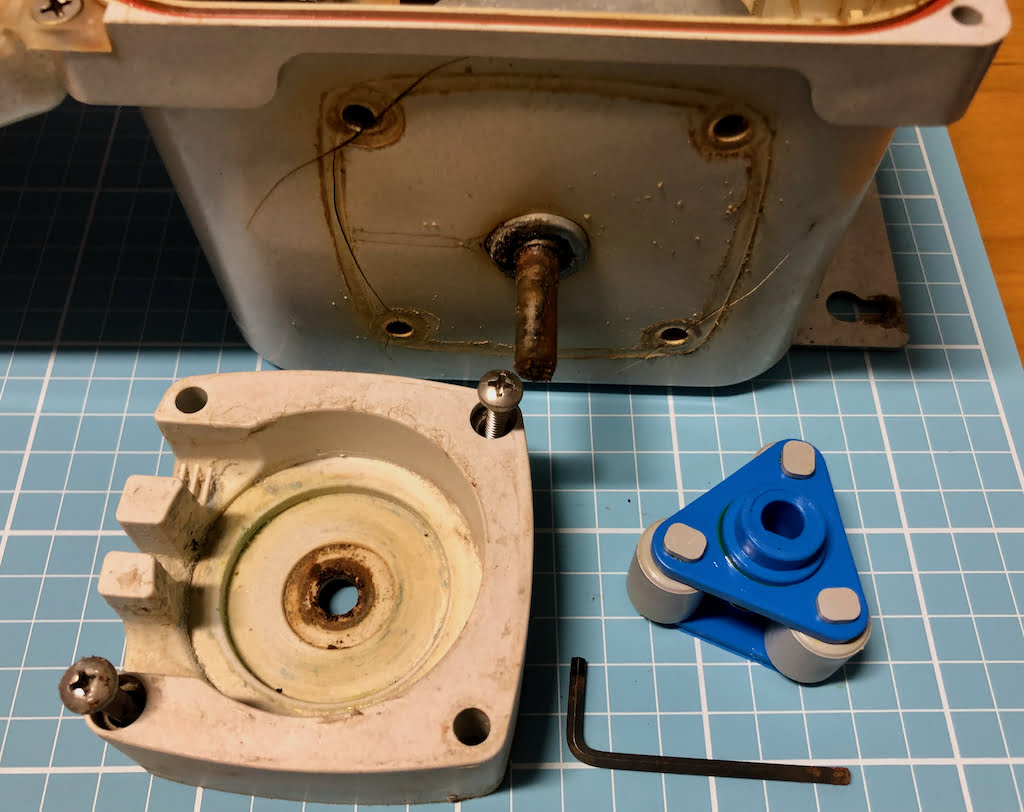
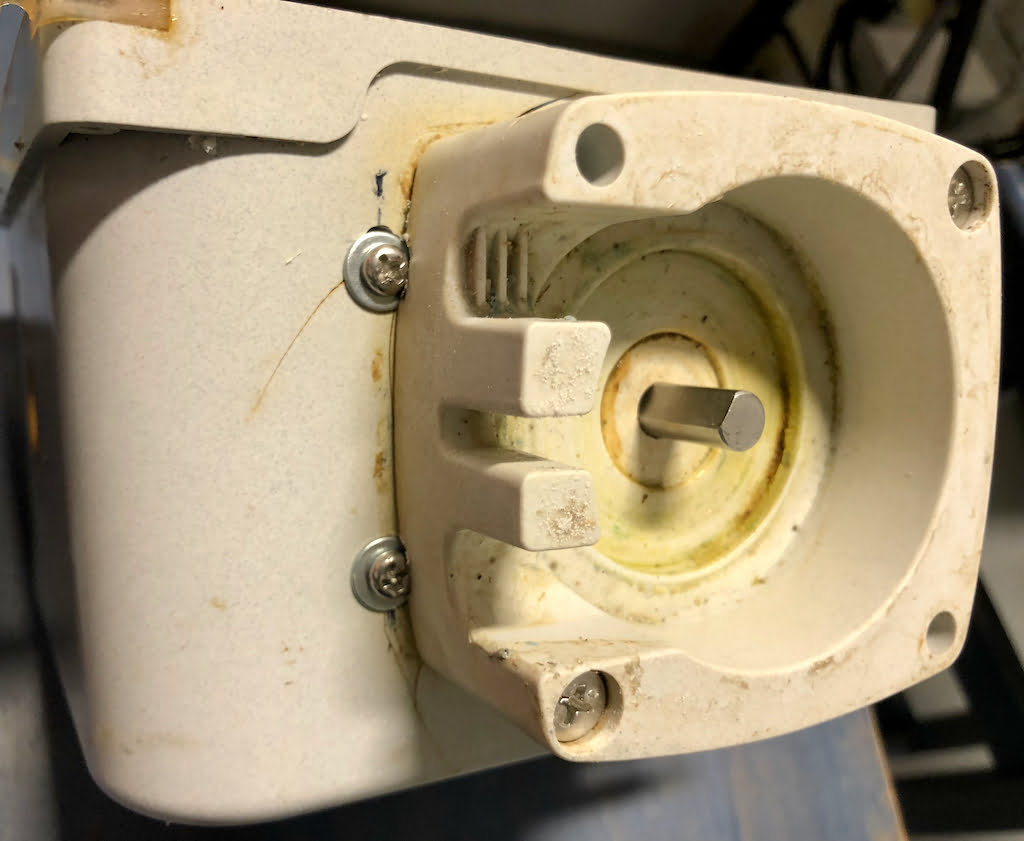
Some mechanical parts that form the peristaltic pump are definitely still needed like the tri roller shown below on the right and its enclosure on the left.
Hardware selection
Selecting a new motor was a bit more complicated than I thought, and the main reason for that was because I did not know how much torque would be required to actually run the peristaltic pump attached to it and the motor speed required to keep the pump running during the pool cleaning cycle. Also, the shaft diameter (8mm) and length (25-30mm) had to match the existing peristaltic pump. Another constraint was that I wanted to stick to 12-24V DC to avoid having to deal with 240V equipment.
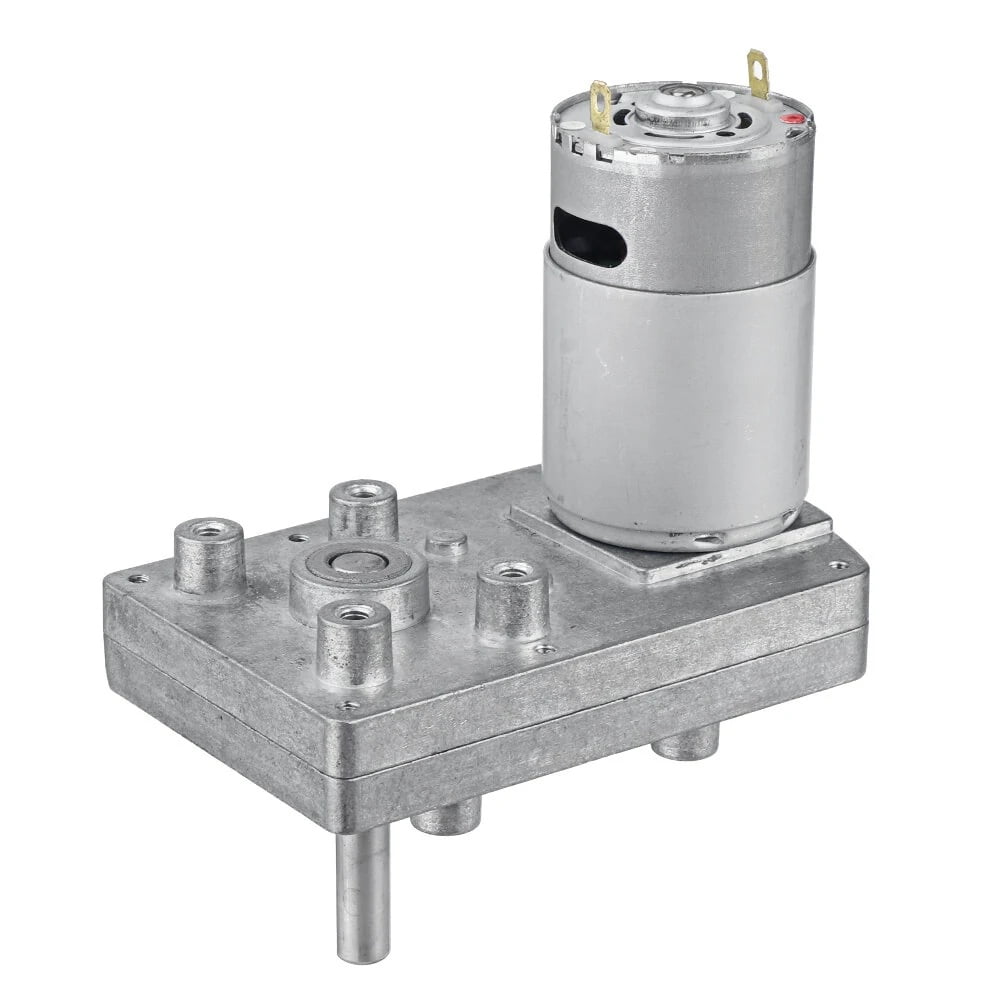
Eventually I found a suitable motor and driver:
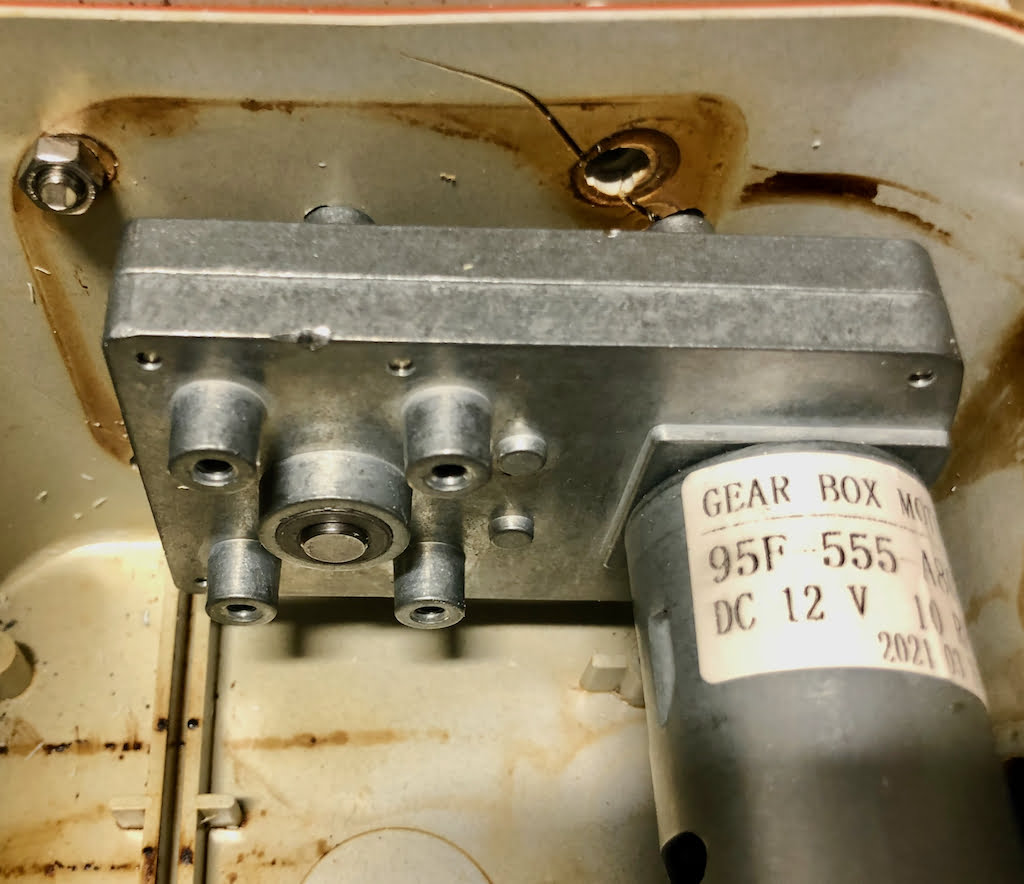
- Reduction Gear Motor, 10rpm, 12V DC (as depicted above)
- L298N DC motor driver board
Retrofit the new motor
After gutting the enclosure I first installed the new motor. To be able to use the same peristaltic pump on the outside, the motor’s shaft had to stick out exactly where the old motor’s was located. As you can see the new motor almost did not fit due to the round corners.
To fix the new motor to the enclosure I had to drill some new holes.

Screwing the holder for the tri roller and tube back in required new screws because this holder was previously fixed to the old motor. Now I just use screws and nuts and fix the holder to the enclosure.
Preparing the controller
I have been developing this ESPHome based device for quite some time and it has been measuring things like water temperature or water level for some time now. I decided to add the motor control into this same device, and also to upgrade from a ESP8266 to a new ESP32 microcontroller which comes with enough GPIO to support all the connected sensors and controllers.
The other upgrade I had to make is the change to 12V DC power. Previously this device was fine with a 5V DC power supply, but the chlorinator’s motor needs 12V and so the ESP32 and its sensors are powered through the same power supply using a step-down converter.
Wiring
The motor itself needs a controller and I am using a L298N motor driver. The board could support two motors and the motor could turn in both directions, but in this particular use-case we only need to control one motor and care about one direction.
| L298N | ESP32 |
| ENA | GPIO25 |
| IN1 | GPIO26 |
| IN2 | GPIO27 |
The L289N has two output pins OUT1 and OUT2 that need to be connected to the motor. Because the motor’s power connectors are not labelled you have to try which one is correct for this configuration – swapping the two connections essentially just reverses the motor’s direction, and we do want to make sure that the liquid chlorine is only pumped onway into the pool.
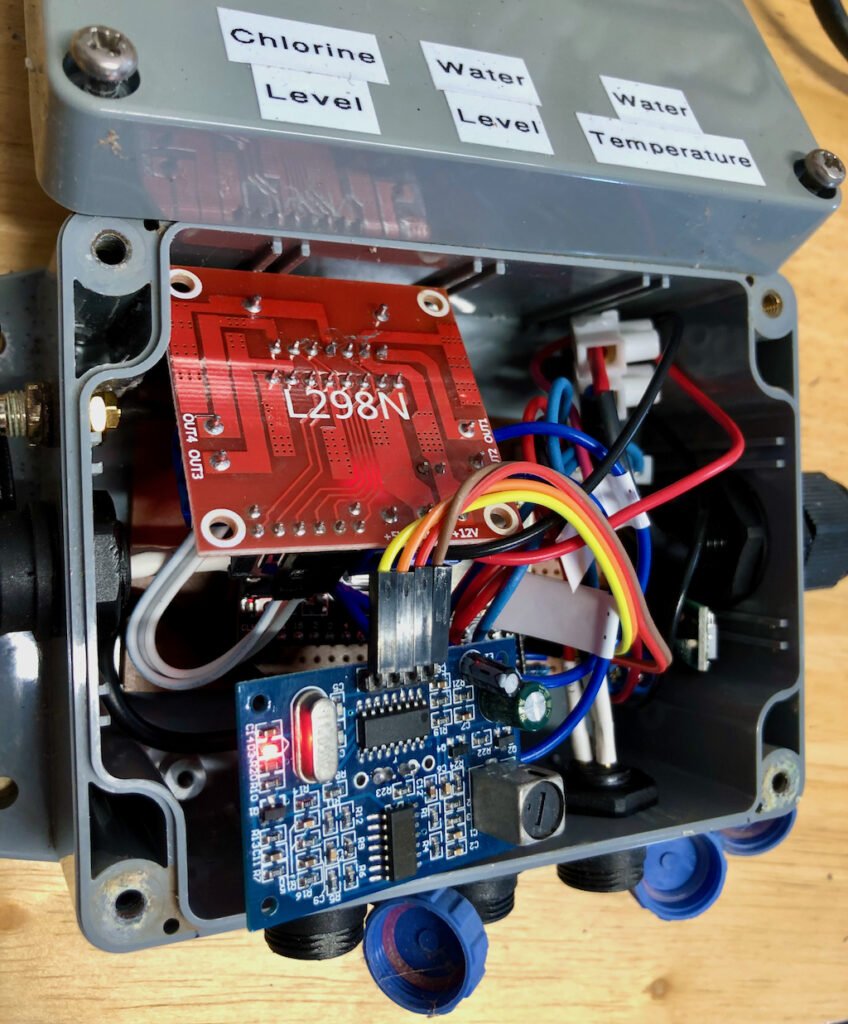
Fitting it all in
As you can see the box has become a bit crowded, but the L298N motor controller just fit in at the top left there, and I was able to find some space for another one of those weather-proof connectors for the actual connection to the chlorinator’s motor.
After fixing the tri roller onto the motor shaft it was time to put the chlorinator back in place and install the tube.
Of course there is no use for the original speed dial anymore and so I removed it and instead installed a cable gland in its place for the cable between motor and motor controller.
Now the only things missing are the lid to protect the peristaltic pump, close the enclosure and connect the motor to the ESPHome controller board.
ESPHome configuration
The following configuration snippet defines the 3 outputs (speed, direction 1 and direction 2) required to control the motor. Because I am using an ESP32 the motor speed uses the ledc platform; the direction outputs are simple gpio pins.
To have the ability to control the motor speed, and thus the speed in which liquid chlorine is pumped, I defined a template number that is being made available as an entity in Home Assistant. When the value changes, the motor will be turned off and then on again at the selected speed.
The motor itself is represented as a switch which takes the selected speed into account. In this case, the direction is fixed (clockwise), because I can only pump the liquid chlorine one way.
number:
  - platform: template
    name: "Motor Speed"
    id: motor_speed
    icon: "mdi:chemical-weapon"
    min_value: 10
    max_value: 100
    step: 10
    initial_value: 100
    restore_value: true
    optimistic: true
    set_action:
      - if:
          condition:
            switch.is_on: motor
          then:
            - switch.turn_off: motor
            - delay: 1000ms
            - switch.turn_on: motor

output:
  - platform: ledc  # or esp8266_pwm if on ESP8266
    pin: GPIO25
    id: motor_speed_pin
  - platform: gpio
    pin: GPIO26
    id: motor_direction_1_pin
  - platform: gpio
    pin: GPIO27
    id: motor_direction_2_pin

switch:
  - platform: template
    name: "Motor"
    id: motor
    icon: "mdi:chemical-weapon"
    turn_on_action:
      # Clockwise direction:
      - output.turn_off: motor_direction_1_pin
      - output.turn_on: motor_direction_2_pin
      - delay: 500ms
      - lambda: |-
          id(motor_speed_pin).set_level((id(motor_speed).state / 100));
      - switch.template.publish:
          id: motor
          state: ON
    turn_off_action:
      - output.turn_off: motor_direction_1_pin
      - output.turn_off: motor_direction_2_pin
      - output.turn_off: motor_speed_pin
      - switch.template.publish:
          id: motor
          state: OFF
Chlorinator control in Home Assistant
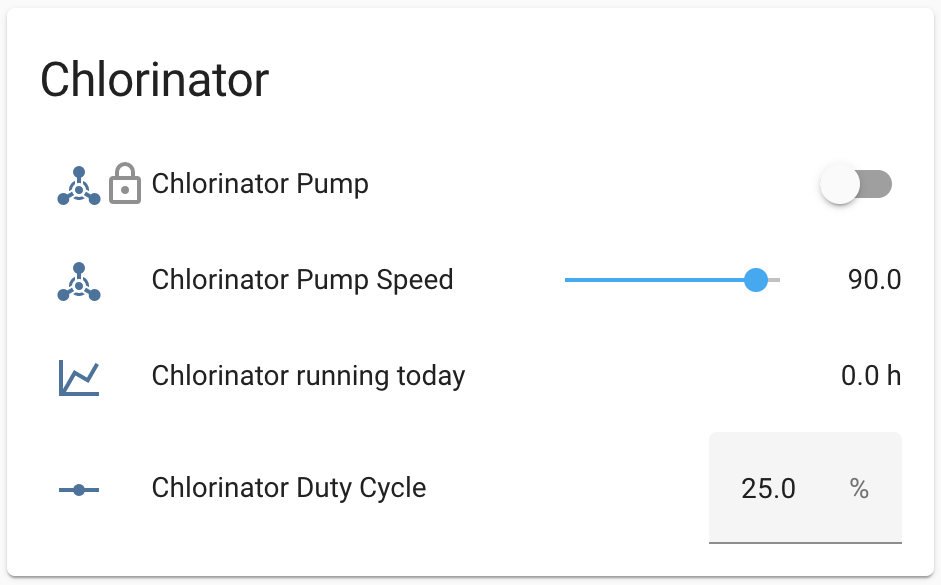
Originally I was planning to throttle the motor and thus control how much liquid chlorine I am feeding into the pool. However, in reality it turned out that I could not reduce the speed below 90% because the motor simply would not start anymore – I assume this has to do with friction of the peristaltic pump I have.
Instead I decided to implement a duty cycle based automation where I define the target duration as a percentage of the pool pump running. So, for example, if the pool pump is configured to run for 8 hours per day, and the chlorinator duty cycle is set to 25%, then the chlorinator will run for 2 hours in the morning before turning off.
Automations
The following simple automations control the chlorinator and are closely tied to the status of the pool pump which is a prerequisite for the chlorine to be effectively injected throughout the water filter cycle.
- Triggered when the pool pump has been turned on for 30 seconds, and the chlorinator has not yet reached its planned run time, then turn the chlorinator pump on.
- Triggered when the pool pump has been turned off for 10 seconds, or the chlorinator has reached its planned run time, then turn the chlorinator pump off.
Conclusion
Overall I am quite happy with the outcome of this project. I spent about AU$45 for the motor and motor driver, as opposed to AU$350-600 for a replacement motor or new chlorinator respectively. And I can now control the chlorinator duty cycle through Home Assistant just like my pool pump.
Compatibility
At the time of writing this post, I used:
- Home Assistant 2022.3.5 with Python 3.9.9
- ESPHome v2022.1.1
Leave a Reply