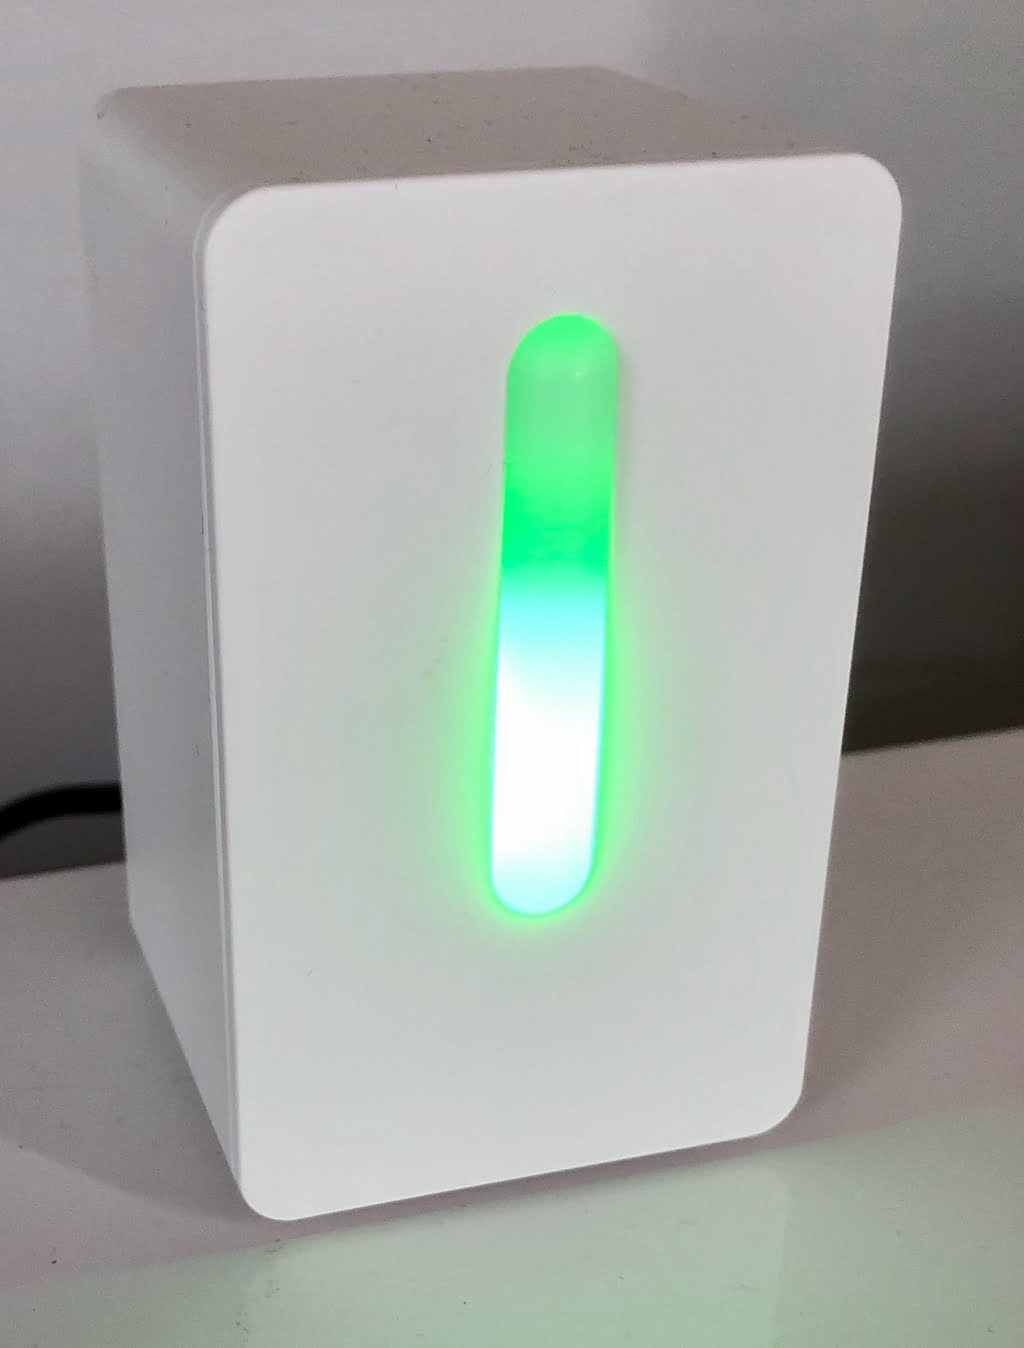
IKEA is selling their air quality sensor VINDRIKTNING for some time now and it finally arrived here in Australia. I bought my own device a couple of months ago with the plan to modify and integrate it into Home Assistant. Some clever people have already done all the heavy lifting and there is a thread in the Home Assistant forum where people share what they have done.
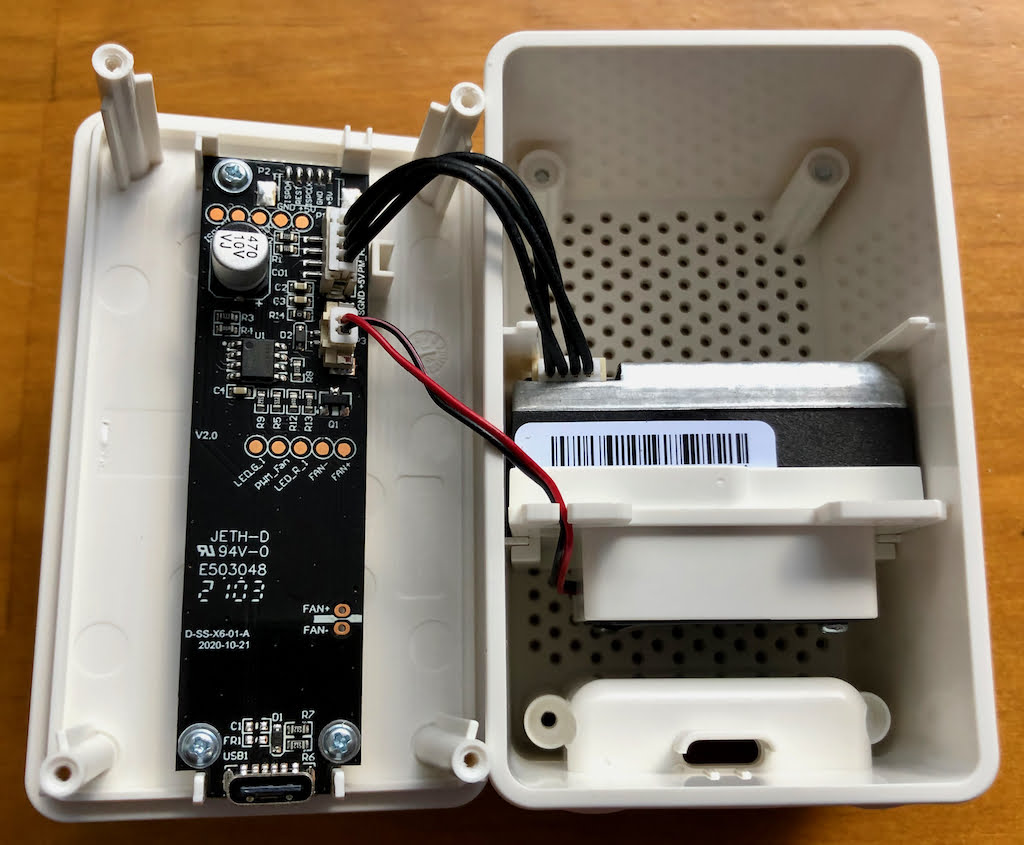
After reading through the whole thread I have come across multiple different options that people have taken, but there was no one clear direction. Many tried to cramp more and more sensors into the little box, but in the end I decided to keep it simple and just passively read values from the PM1006 sensor.
In a Nutshell
Now, because I am a little late with my own post, I am just going to send you off to the best post about the modifications I have found so far:
DIY: Use an IKEA VINDRIKTNING air quality sensor in Home Assistant with ESPHome
The post describes in very detail the exact same modifications I have done to my own device:
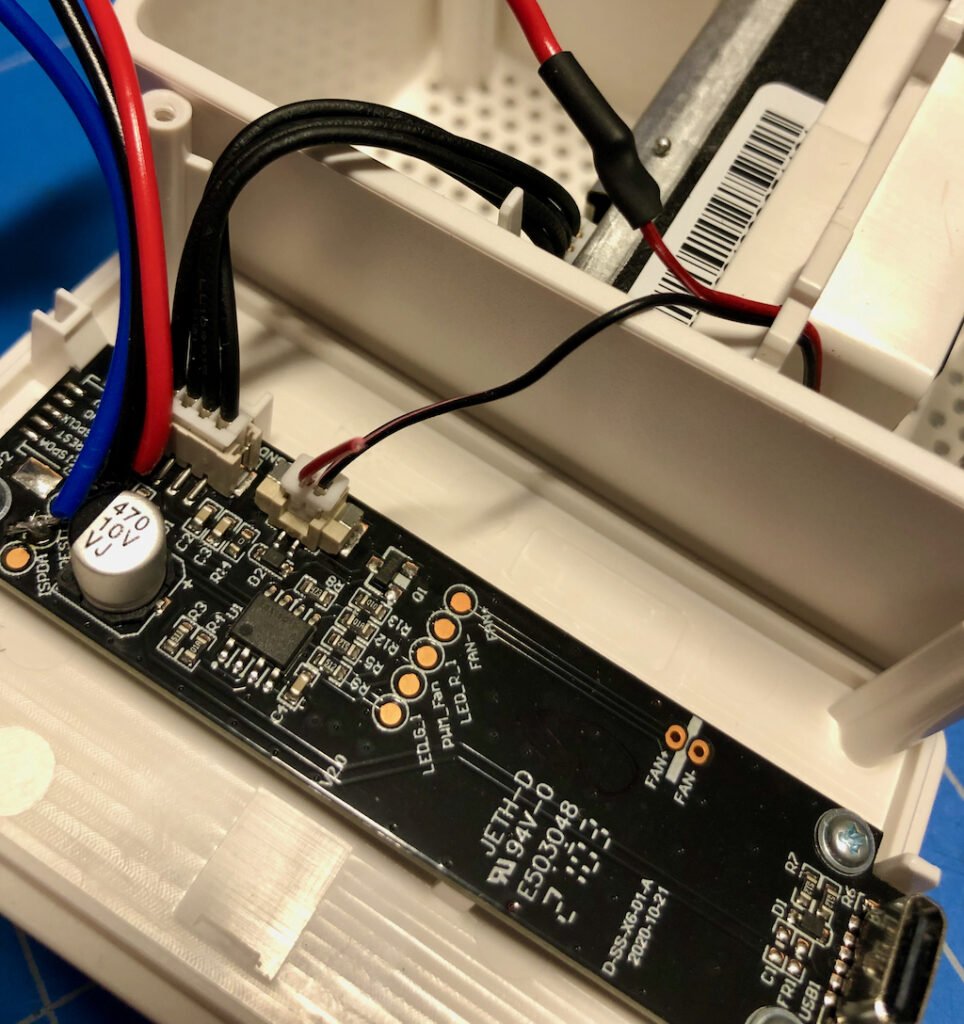
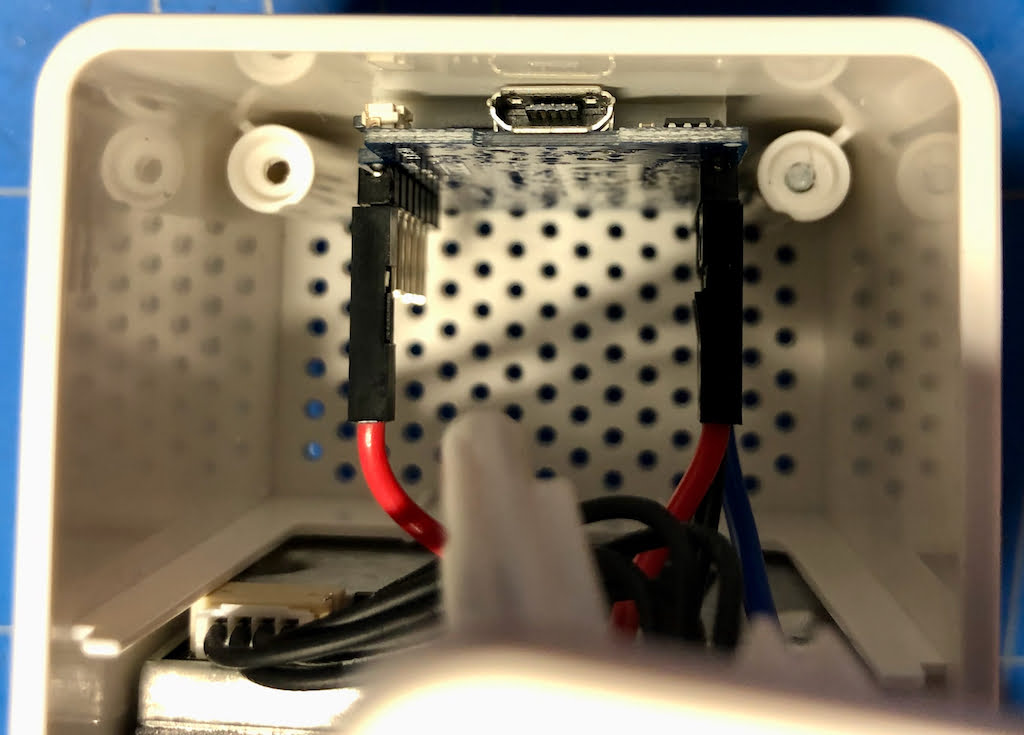
- Connect an ESP8266 running ESPHome to the PM1006’s RX pin to passively read the sensor values and pass them on to Home Assistant.
- Reconnect the fan from 5V to 3.3V to minimise the noise produced by the fan when taking measurements.
Conclusion

There has been some debate or confusion about the precision of the PM1006 sensor where some people have compared the sensor values with other particulate matter sensors. According to the manufacturer’s datasheet: Accuracy: ±20μg/m³ or ±20% of reading
Either way, the main purpose of IKEA’s product here is to show an air quality indicator in a simple traffic light device, and that is what this particular sensor is good enough for. And to be fair, this is probably what most people need to distinguish good from bad air quality. For more accurate measurements, I will just stick to my devices based on the SDS011 sensor.
So my final conclusion: Modifying the Vindriktning device and having the particulate matter sensor value in Home Assistant is a nice and affordable finger excercise.
Leave a Reply