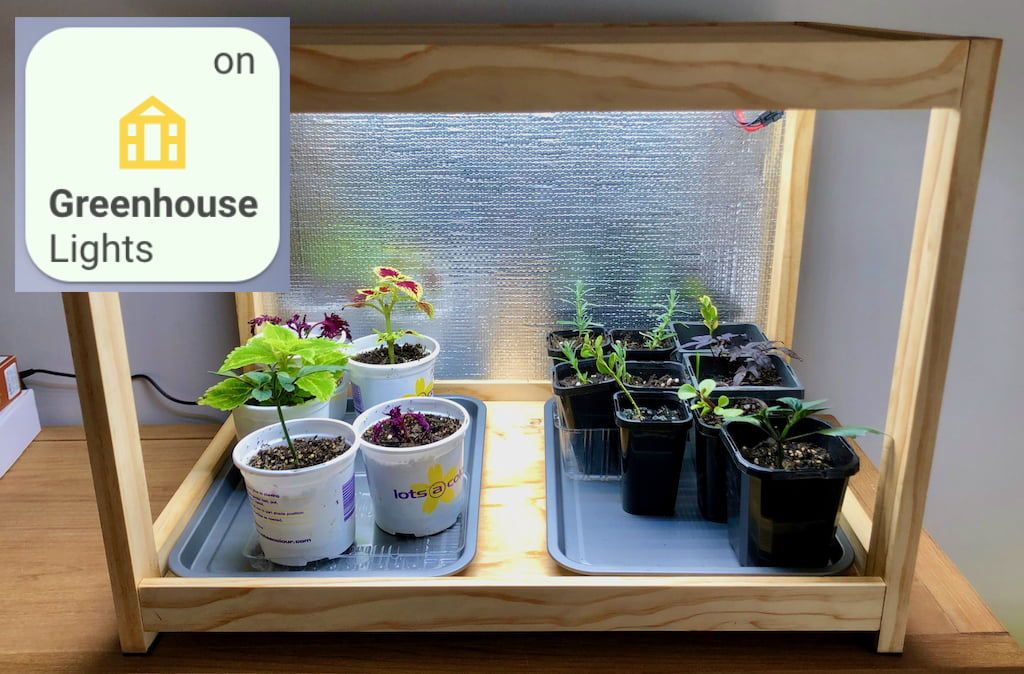
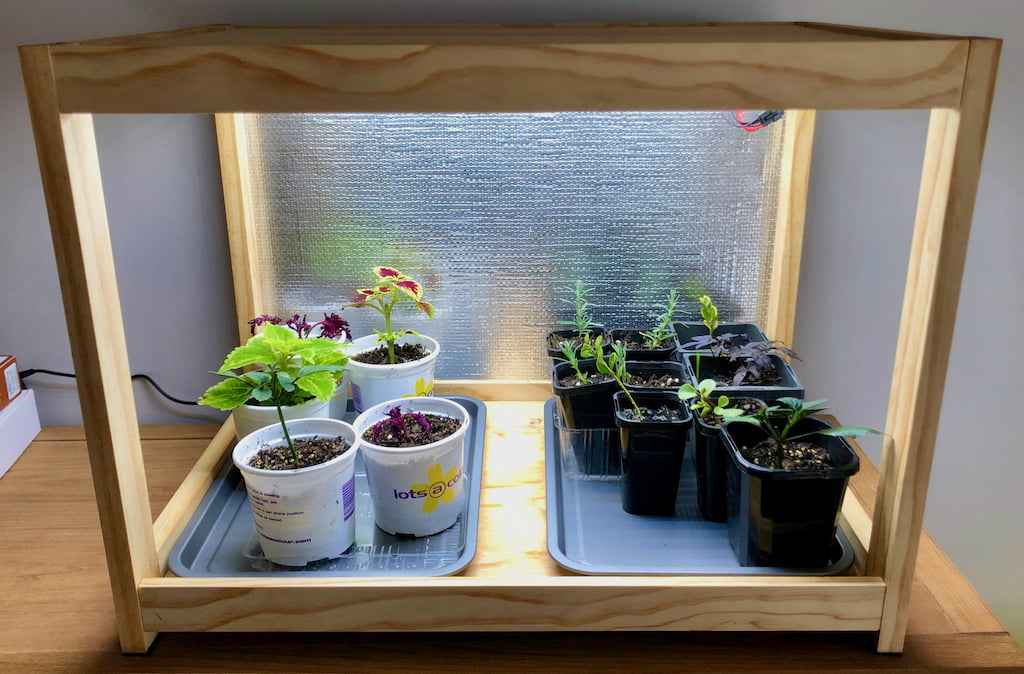
I have recently found myself building a small indoor greenhouse as a prototype for a bigger one in the future. I am not a gardening expert myself, but I couldn’t resist in using some smart home technologies in this in-house commissioned project.
A key requirement for this greenhouse was to have grow lights that provide a decent amount of light to the plants inside regardless of the outside conditions. Of course you can buy little greenhouses like this or repurpose racks, and of course you can buy grow lights, but I decided to build my own because this way I can make it fit the exact space available and am not dependent on the sizes and specs of the off-the-shelf products.
Carpentry Work
The timber structure is quite simple and I decided to stick to cheaper pine before using something fancier in the next iteration of this project. The top and bottom can be removed, and I added a back with a thin layer of reflective wall insulation to capture some of the light and reflect it back inside. Front and sides are open to allow for some air flow.
The total size is 60cm wide, 40cm deep and 45cm high.
This is my bill of material which is partially driven by what types and sizes of timber are available in my local hardware store.
- Pine DAR 40x12mm 3.0m
- Pine DAR 42x19mm 2.4m
- Pine DAR 30x12mm 1.2m
- Pine DAR 12x12mm 1.2m
- Plywood Marine Grade 1220x810x6mm
- 2x Plywood 1200x396x7mm
- Reflective wall insulation
- Dowels, Wood Glue
- Furniture oil
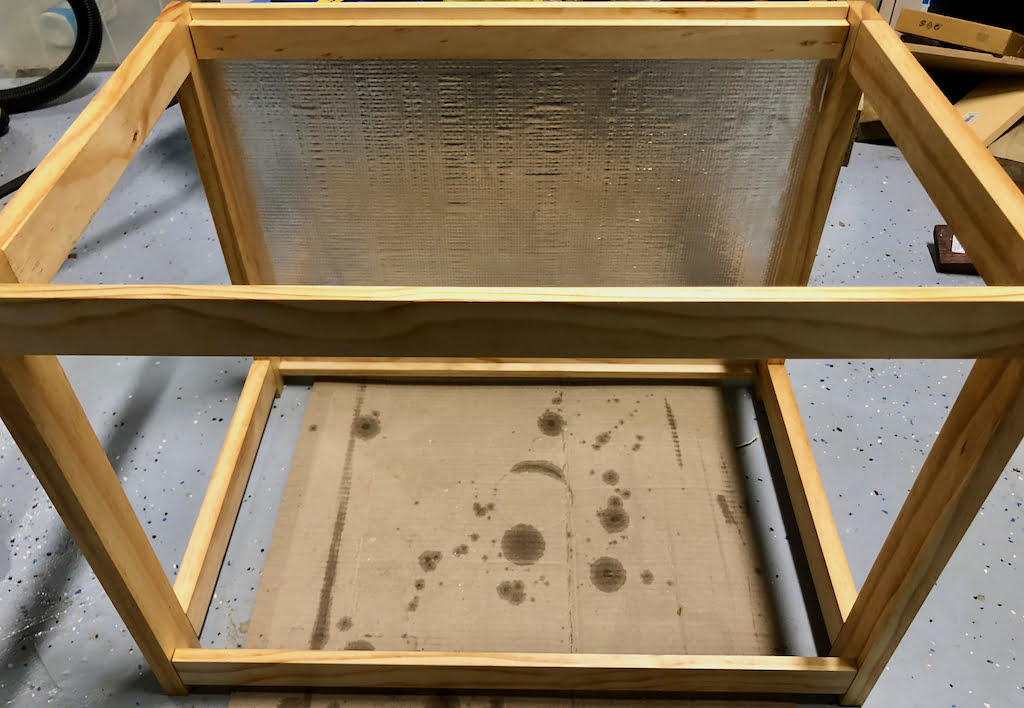
I made the two side frames from the 42x19mm board, and connected them with 40x12mm board pieces. To hold the floor and ceiling plywood boards I attached small supports to the front and back boards – 12x12mm at the bottom and 30x12mm at the top.
The back panel is made of plywood with the reflective wall insulation foil glued onto it. To fit the back panel I cut a rebate into the back frame with my router. I then fixed the back panel with staples onto the frame.
Grow Lights
As grow lights I use 4 different types of LED strips at different lengths to cover a large spectrum of wavelengths and luminosities, including infrared and ultraviolet light which apparently helps plants at certain stages in their growing cycle.
| Type | LED type | Colour temperature | Wavelength | Power consumption | Luminosity | |
|---|---|---|---|---|---|---|
| Warm white | SMD5730 | 2800-3200K | 0.2W | 40-45lm | 60 LED/m | |
| Cold white | SMD5730 | 6000-6500K | 0.2W | 40-45lm | 60 LED/m | |
| Ultraviolet | SMD5050 | 395nm-405nm | 0.24W | 60 LED/m | ||
| Infrared | SMD3528 | 850nm | 0.16W | 60 LED/m |
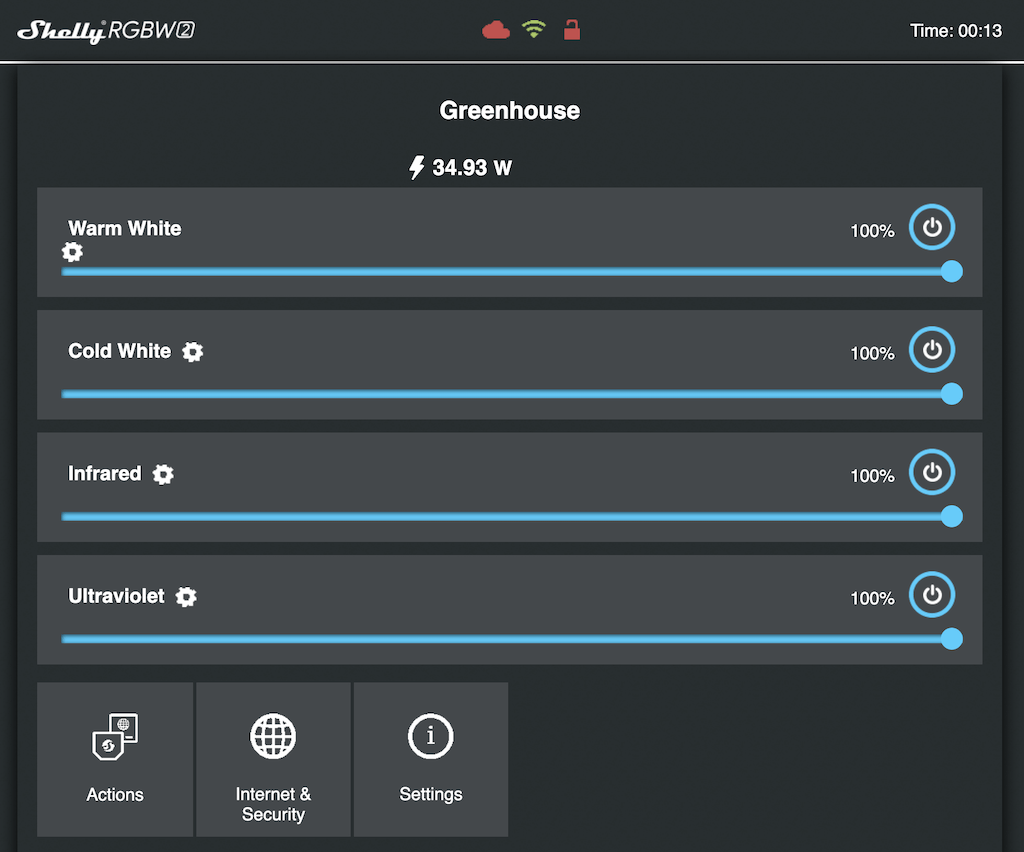
As a controller I use a Shelly RGBW2 which comes with 4 independent channels and lets me control each LED strip separately when required.
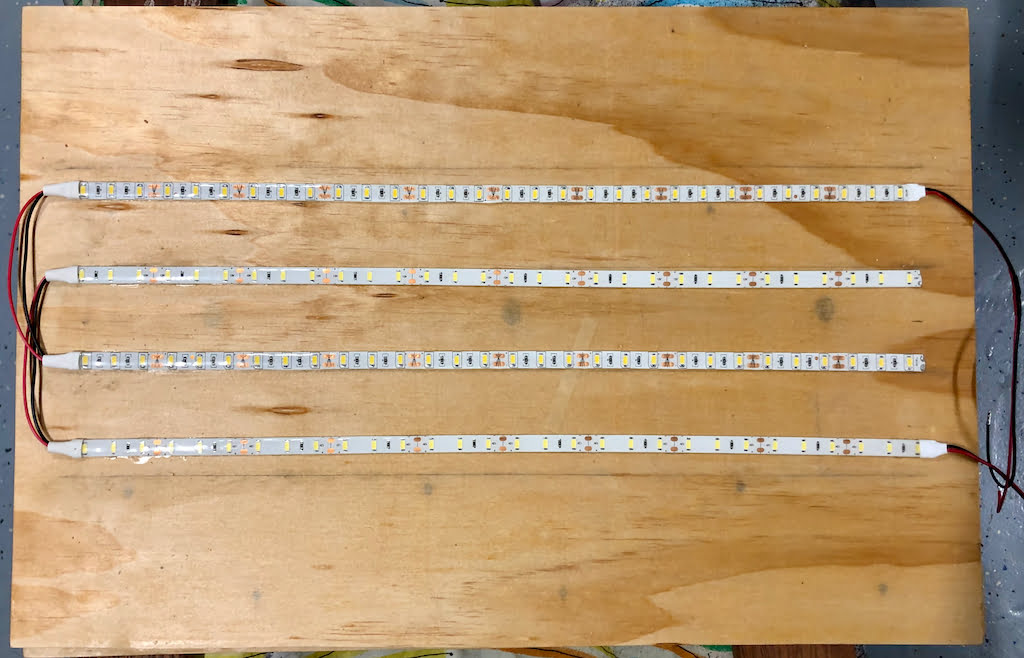
I cut the LED strips into 50cm pieces: 3 cold white, 2 warm white, 1 ultraviolet and 1 infrared. Each type of LED strip is wired to one of the channels of the Shelly RGBW2, and where there is more than one piece of the same type I soldered connecting wires in between so that I can spread them out on the ceiling.
Because I treated the timber with furniture oil, the LED strips’ double-sided tape wouldn’t stick, so I used super-glue to fix the LED strips to the board.
The power supply is a generic 12V DC 5A/60W one. Based on the above power consumption specs and the length of the strips I calculated a maximum power consumption of 42W, so this power supply provides a bit of headroom just in case I wanted to add some more strips in the future.
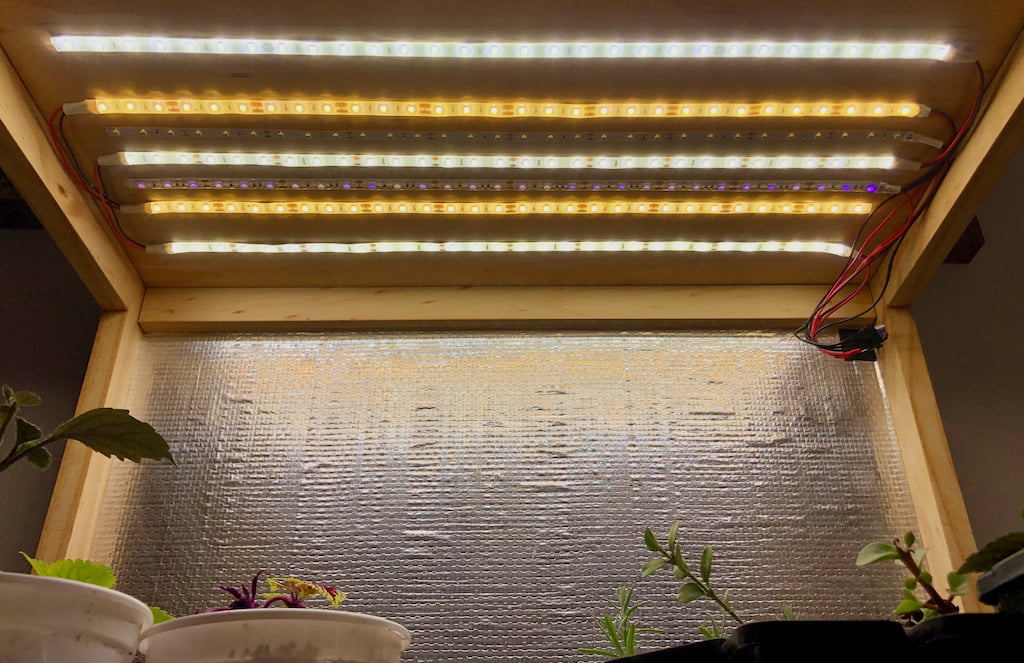
Due to the wavelength it is impossible for the human eye to see if the infrared LED strip is actually on. However, what I found out is that my. iPhone X in live video mode does actually show the LEDs faintly glowing.
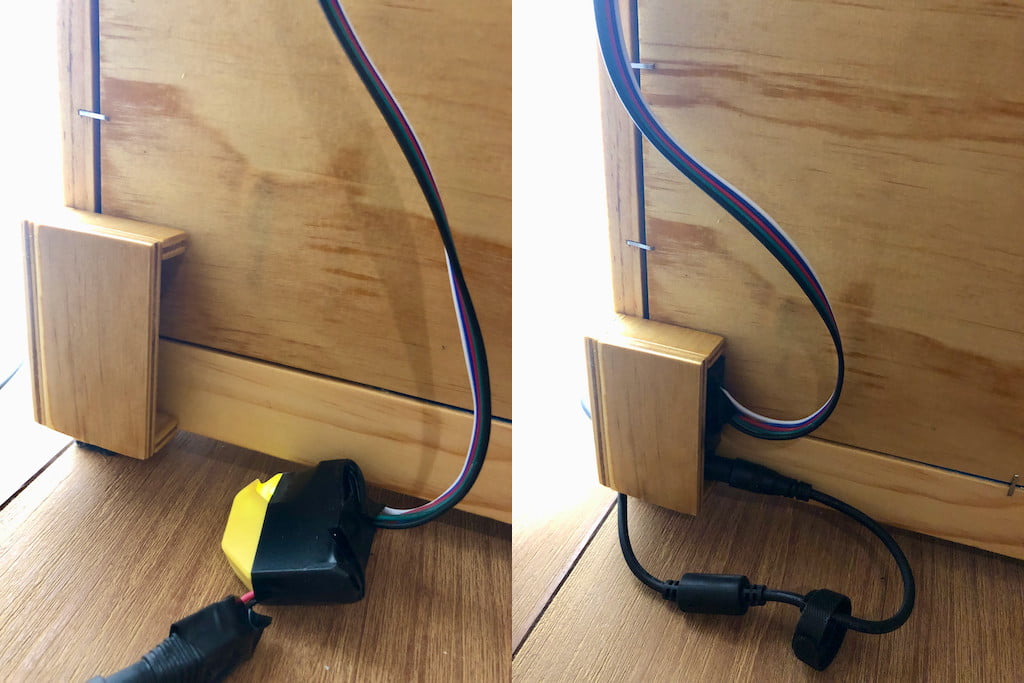
The Shelly RGBW2 device is tucked away on the back of the framing, but I wish I had thought about a better way to embed the device into the frame or hide it underneath.
Shelly RGBW2 configuration
The configuration of the Shelly RGBW2 is fairly standard – WiFi, NTP, timezone, CoIoT peer, etc. – and I recommend an initial firmware update to ensure the device makes use of the latest features of the Home Assistant integration.
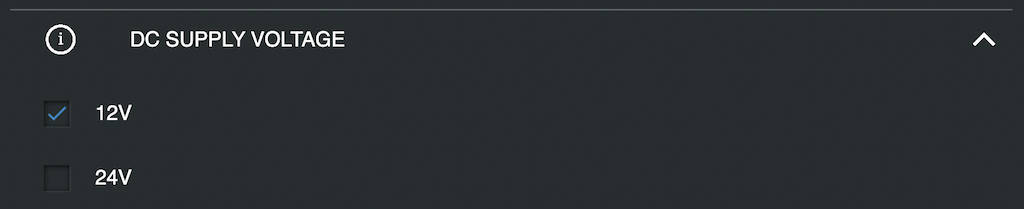
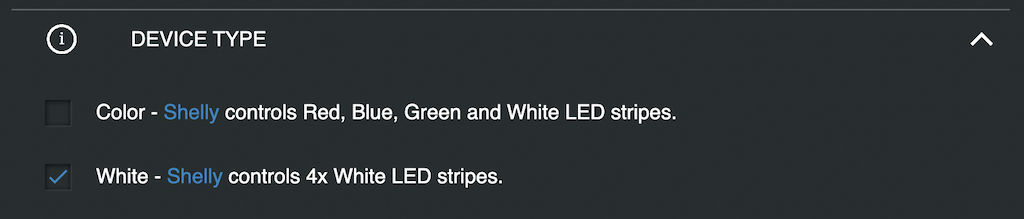
The two most important settings to make this Shelly work with my LED strips are to set the supply voltage setting to 12V and select “White” in the device type settings to allow for all 4 channels to be configured and controlled separately.
I then renamed each channel to the respective colour connected.
Home Assistant configuration
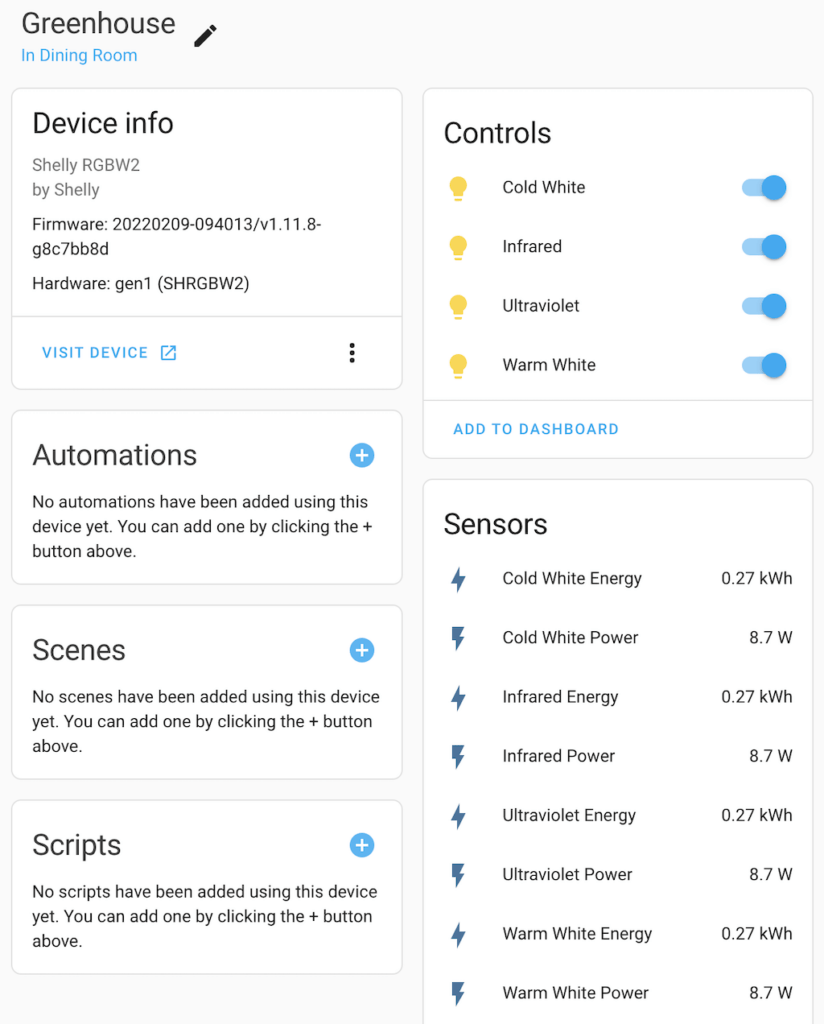
With a bit of luck your Home Assistant installation will automatically detect the new Shelly device on the network, and you should find the entities in the Devices & Services section. Each channel should appear as a separate light entity, and there are several additional sensors and controls added automatically.
The Shelly device does not actually measure the power consumption for each channel separately but measures the total and then uses some maths to average the power consumption across all channels depending on brightness.
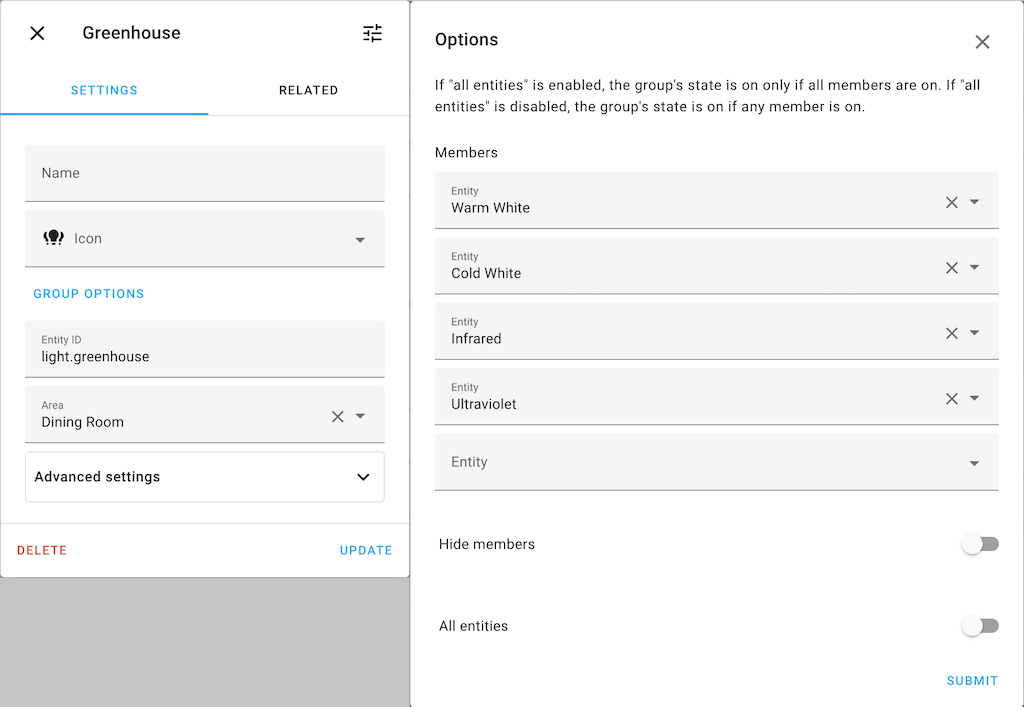
Light group
For simple control I decided to initially group all 4 LED strips to have a single on/off switch in Home Assistant. In the future I am planning to use scenes to create different combinations of brightness to follow the plants’ growth cycle.
Automations
For now the greenhouse’s lights are under manual control. This is primarily because we only have plants in there when there is not enough sunlight outside to move the plants onto the terrace.
Some simple automations could be used to automatically turn off lights over night and turn them back on again in the morning. Instead of manually turning the lights on and off, the greenhouse would ideally have some kind of occupancy detection which in the first instance could be a simple toggle helper in Home Assistant that is then used in triggers and conditions.
Outlook
This is a first prototype and as such it is working fine. However, I have already identified several potential improvements for the next iteration of this project:
- Make a bigger greenhouse with capacity for more plants.
- Fine-tune the mix of different coloured LED strips to follow the growth cycle.
- Make the ceiling height adjustable to get the LEDs closer to smaller plants.
- Find a better, more concealed space for the Shelly device and also better hide the cabling.
- Add some sensors, for example temperature and humidity.
Compatibility
At the time of writing this post, I used:
- Home Assistant 2022.7.6 with Python 3.10.5
- Shelly RGBW2 on firmware v1.11.8
Update 05/09/2023
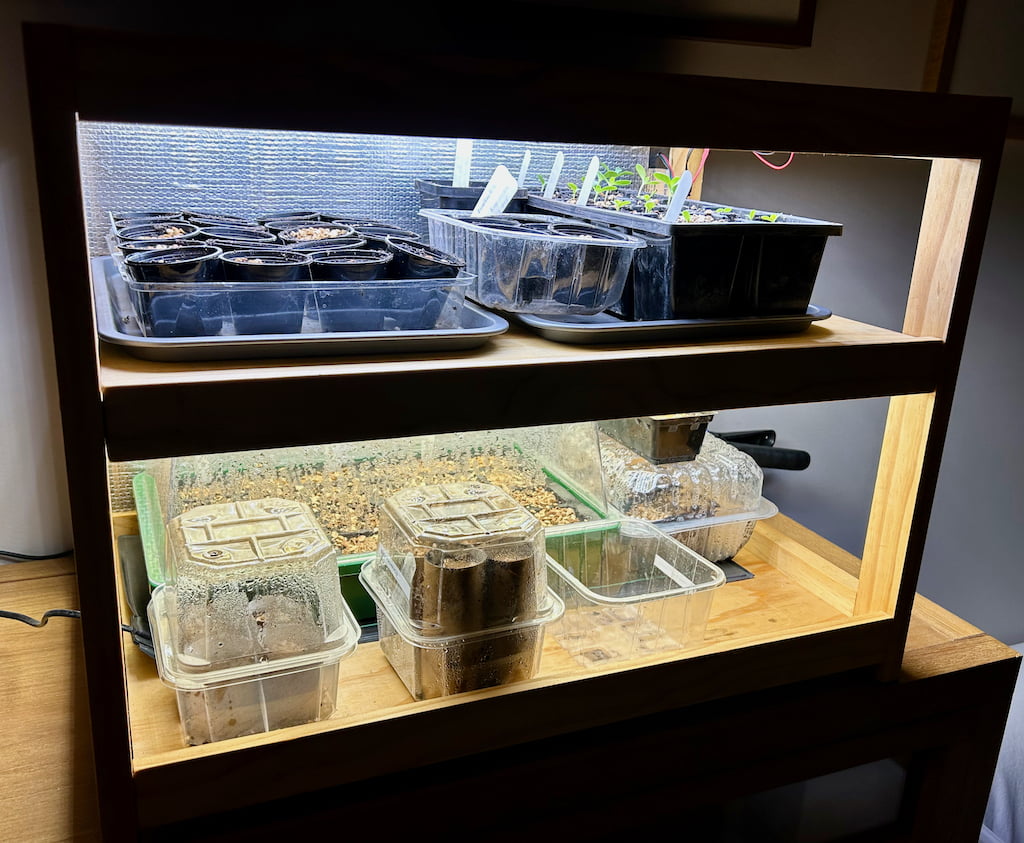
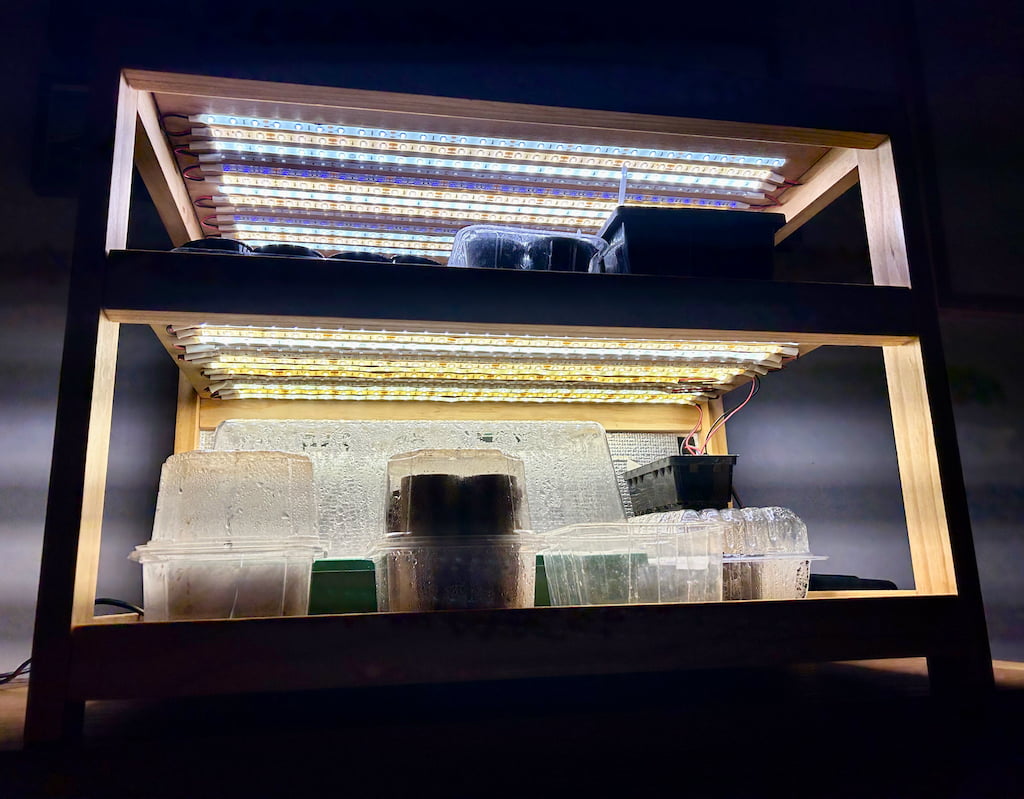
The greenhouse has been well in use in the last year and now that we entered into spring an extension was needed.
This extension is basically splitting the greenhouse into two layers where each layer contains its own set of LED strips. As can be seen from the photos below there is still plenty of space for the plants, and actually they are now much closer to their respective light source.
As part of the extension I made the following changes:
- I built a new layer out of plywood with the same dimensions and configuration of LED strips as the top one.
- In my first iteration I had the 4 colours (warm white, cold white, UV, IR) on the 4 separate channels of the Shelly RGBW2. I did not want to add another Shelly device for the second layer, so I rearranged the LED strips, added a few more strips to the first layer to increase brightness and ended up using 2 channels of the Shelly per layer. Each channel supports up to 45W, with a total of 145W across all channels.
- The Shelly now measures ~86W power consumption when all LED strips are on at 100% brightness. I replaced the power supply with a generic 12V DC 8A/96W to accommodate this.
- In the process replaced a few of the LED strips of the original layer. It appears as if the UV strips are either losing intensity or failing altogether. I don’t know how to measure this to be sure, but I decided to replace the UV strips while I was rearranging the strips anyway.
Leave a Reply