
With many of my neighbours putting up their decorative light shows for Christmas I was wondering if there would be something new on the market to replace the old solar powered fairy lights on our terrace which were cheap but kept dying every other year or so.
So, I found a WS2812B based fairy string light which promised to be IP65 rated at a reasonable price.
There is also an IP68 rated version available where the string light is put into a silicone sleeve – maybe I will consider that for the pool at some point.
Unboxing and Disassembling
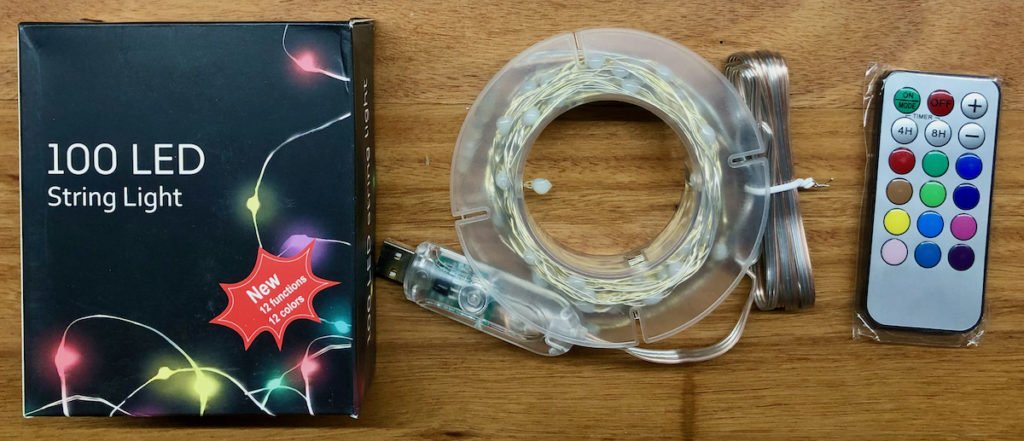
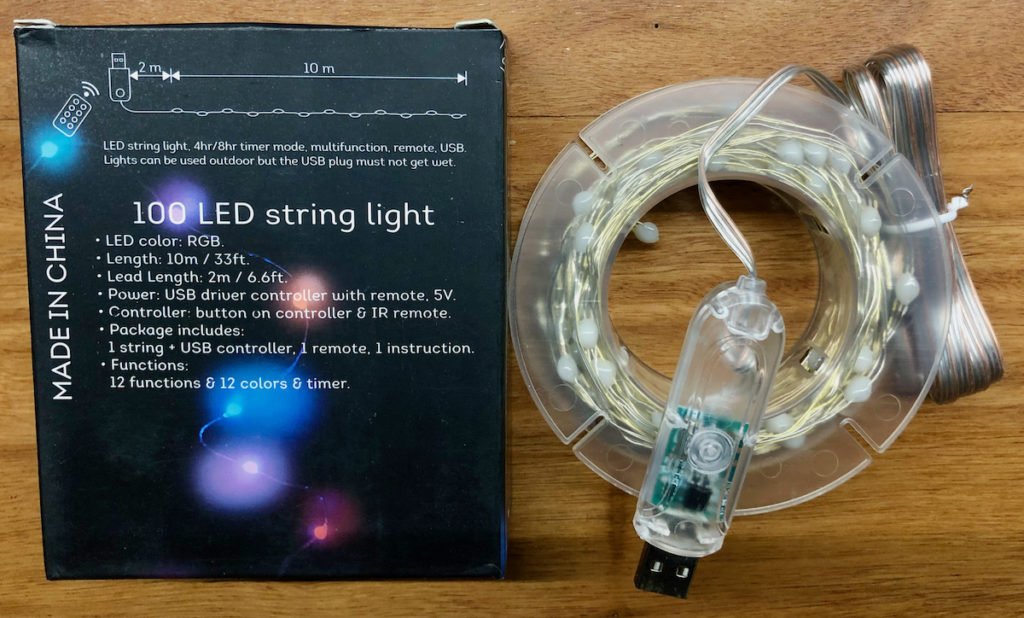
The string light comes on a reel with 100 LEDs on a 10 metre string, i.e. one LED every 10cm, and has a USB controller connnected on the end of a 2 metre lead. It also comes with a small IR remote control that allows you to select a colour or flick through some light effects. The USB controller contains the IR receiver, i.e. if you just want to use the string light as-is, you would need to find a USB power supply in range for the remote control or maybe use a USB extension.
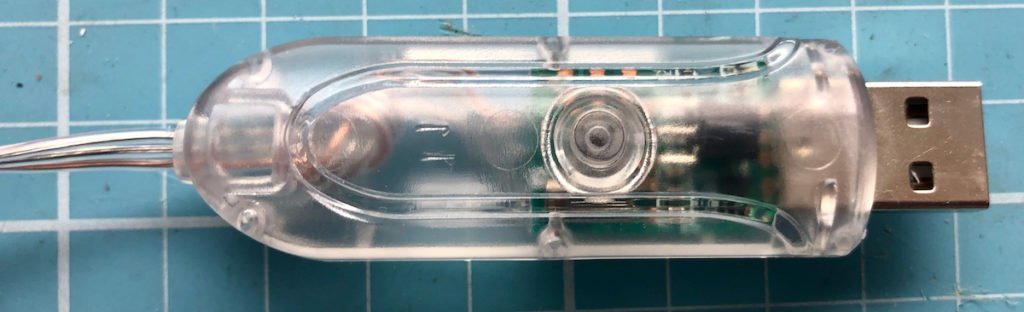
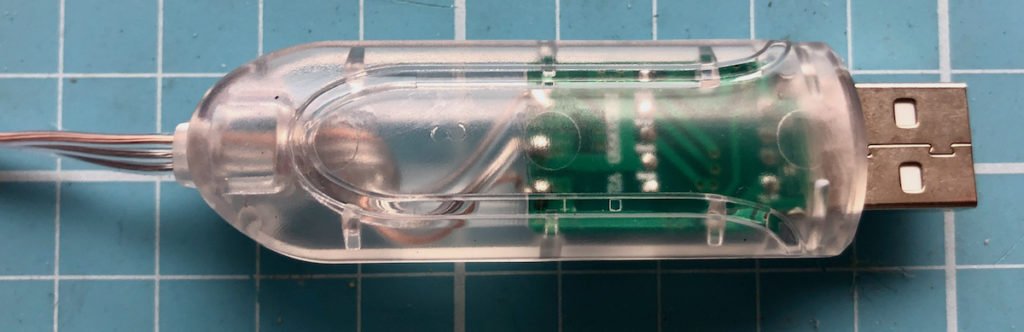
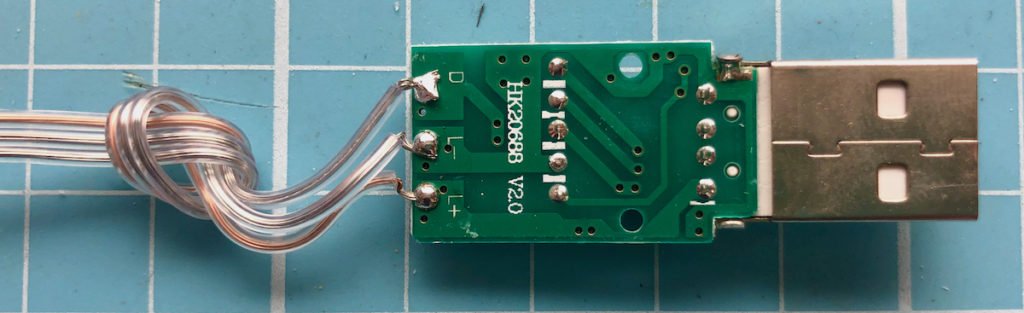
When disassembling the USB controller it turns out that the connections are clearly labelled – L+/L- for the power supply and D for the data line.
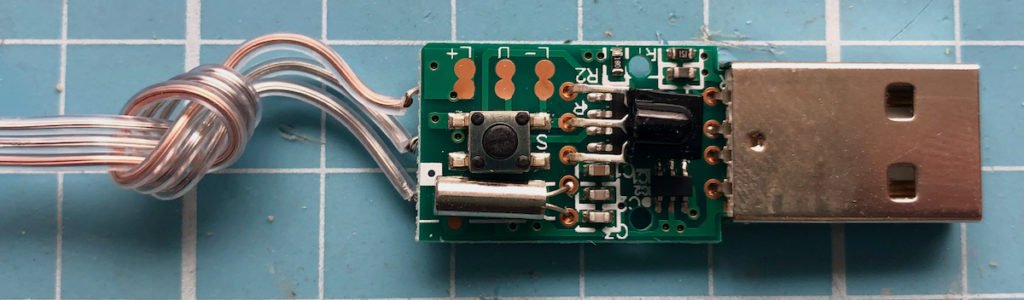
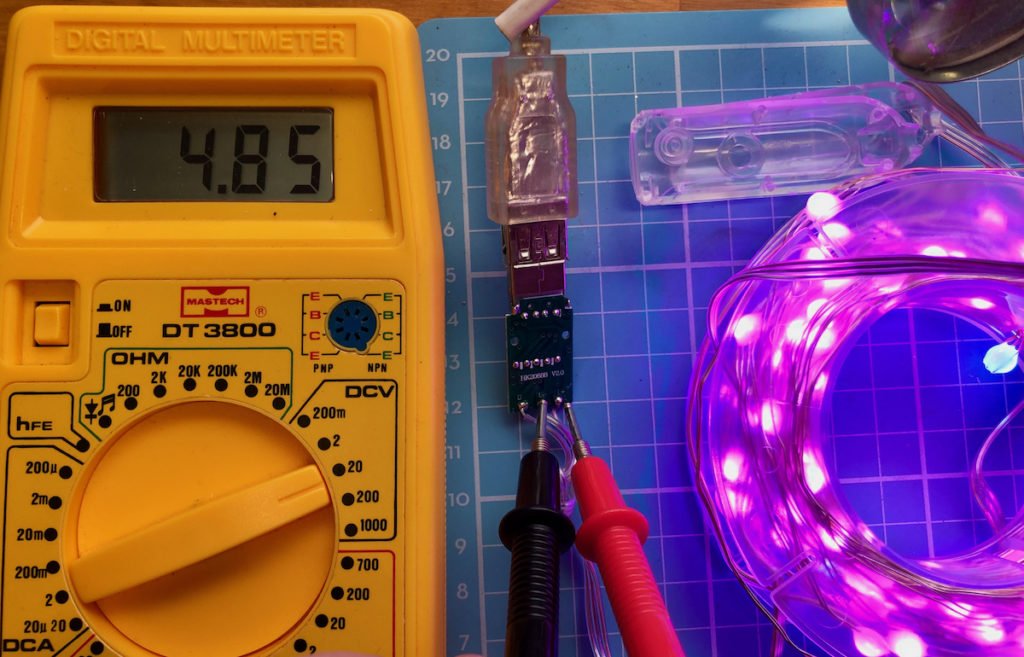
And to be sure I confirmed that the power supply from the USB controller to the string light is indeed around 5V which will make the rebuild nice and easy.
Before you cut off the USB controller make sure to mark each of the three wires so that you can correctly reconnect the string later on.
Also, the string itself does not have any markings indicating where it is possible to be cut, but it would not surprise me if you could cut it at every LED just like a typical WS2812B LED strip. I have not actually tried cutting or mending the string myself though.
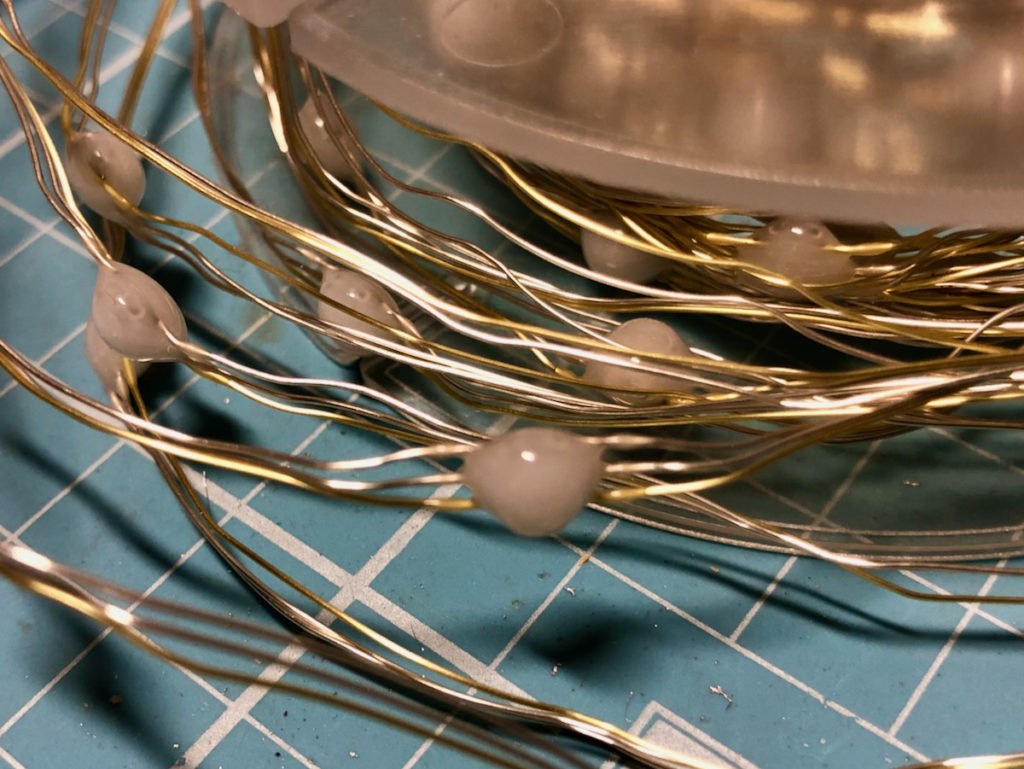
The three wires of the string have a thin insulation, but from experience with single-colour string lights this insulation can easily be scraped off.

Prototype
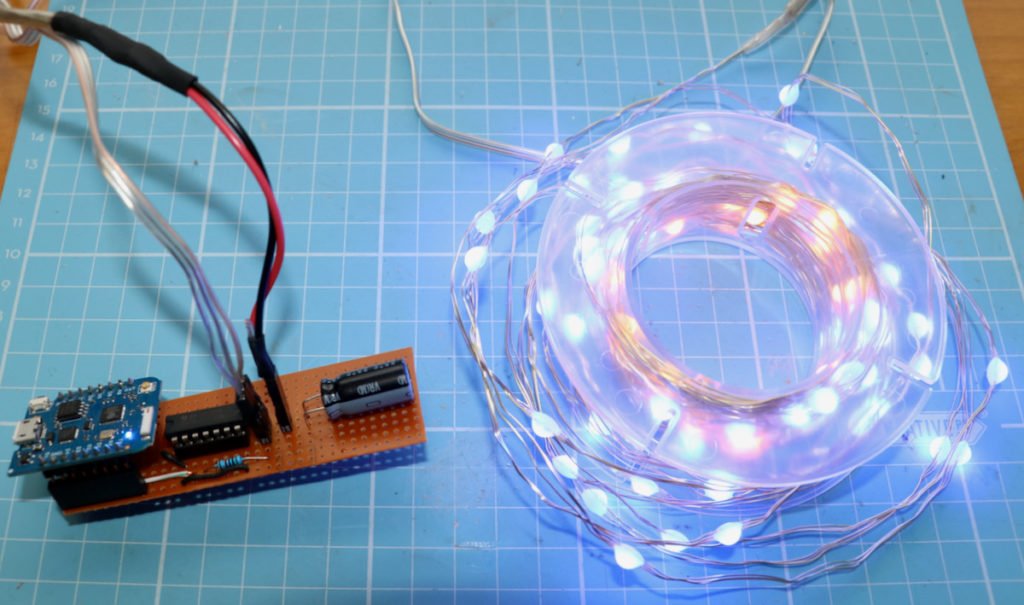
As a quick prototype I just used a Wemos D1 Mini Pro, connected the string’s data line to D4/GPIO2 and a USB cable to 5V/GND on the ESP and to the string light.

I then flashed the latest version of WLED onto the ESP and went through the normal setup process to connect it to my WiFi network.
Apart from that I made a few more configuration changes to adopt this string light:
- LED Setup -> LED count: 100
- LED Setup -> LED voltage: 5V efficient (35mA)
- LED Setup -> Color order: RGB
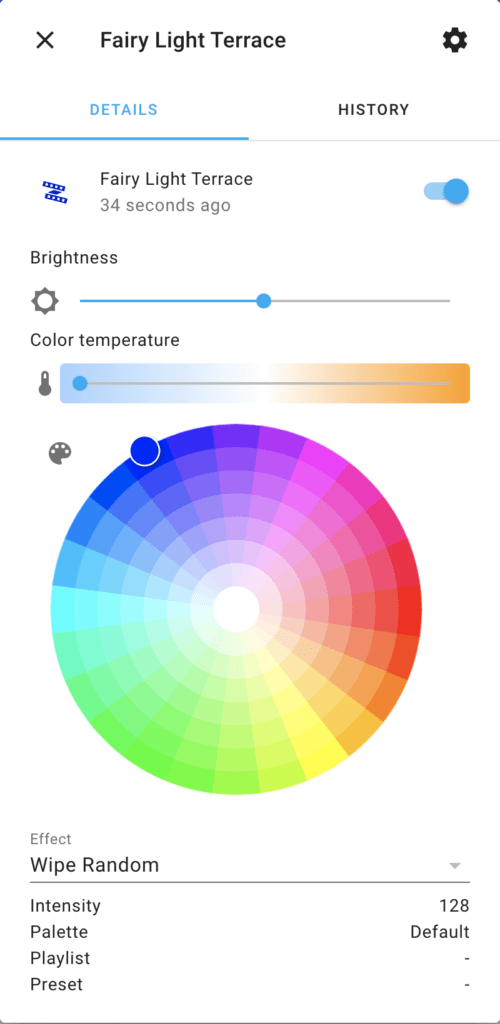
WLED works just fine with this string light, and of course the Home Assistant integration also works just as expected. The new device can easily be added via the UI, and in addition to the actual light entity you also get several sensors that help managing the health of the device.
Power Supply
Before I disassembled the original USB controller, I connected the string light to a simple (i.e. not properly calibrated) smart plug to measure the power consumption. I tried different light settings and effects, and the power readings were somewhere between 2-6W.
For my prototype I just connected the USB cable to a USB power supply which could supply up to 3.4A (i.e. 17W at 5V). The string light’s manual does not contain any information about the maximum power consumption for the whole string or per LED.
Final version
To make this setup a bit more permanent and install it on my terrace I have made a few modifications based on best practices (WLED wiki and Adafruit NeoPixel Überguide) when connecting addressable LEDs to a microcontroller:
- Added a 1000µF capacitor to the power lines close to the LEDs.
- Added a logic level shifter to the data line.
- Added a 220Ω resistor into the data line (I started with a 470Ω but that led to colours and effects not to work at all).
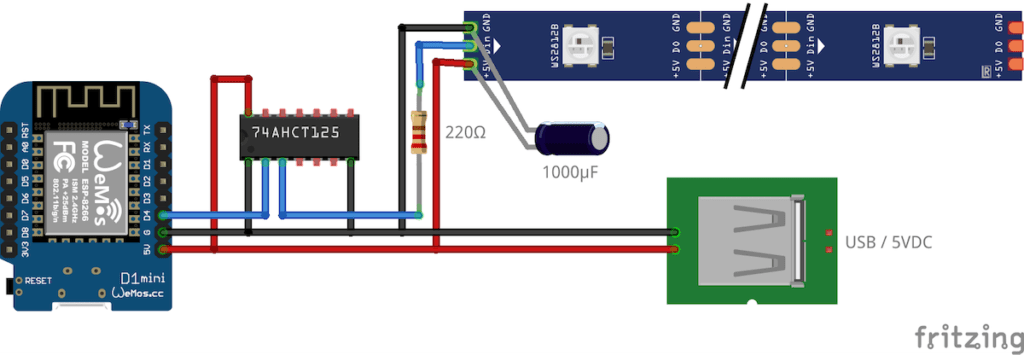
And of course I still need to put the ESP into a weather proof case.
I did not quite make it in time for the festive season, but the summer is still long and I will probably just keep the string lights up on the terrace the whole year and use them whenever possible.
Compatibility
At the time of writing this post, I used:
- Home Assistant 2021.1.0 with Python 3.8.7 in Docker
- WLED 0.11.1
Update 27 September 2021
After about 8 month outside – under a patio roof – I have inspected the string light, and unfortunately I found quite a bit corrosion. When taking the string light off some wires even broke. So, my verdict is that the IP65 rating touted at the time of purchase was overly optimistic at best.

Leave a Reply to Glen Cancel reply